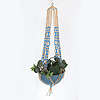
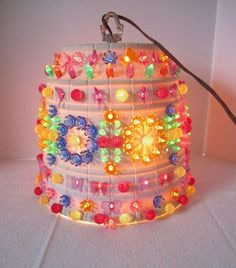
Flower Pot Lamps are thought to have been created by campers who wanted to light the awnings of their campers with festive and unique lighting. Today flower pot lamps are a popular craft project for many uses. Flower pot lamps can be made with many combinations of beads or bead pegs. To make your own flower pot lamp, you will need a pot (such as a Lawnware pot, or a suitable substitute), beads or bead pegs, and a light kit with a cord and bulb. Once you have gathered your materials, start by drilling holes into the pot in a pattern of your choice. You can use a pencil to mark where you want the holes, or simply drill them randomly for a more organic look. Don't let your imagination be limited only to this set of flower pot lamp instructions. These pots can be strung together for patios and outdoor gathering places.
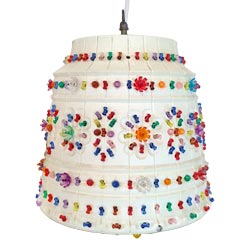
The "standard" pot to make these lamps with was one made by Lawnware, made of a plastic or polymer type material, with designs, lines and flowers on the outside of the pot, and were easy to drill holes into. They were great looking for use as flower pots as well as these great lamps. Sadly, the Lawnware Company went out of business in 2006, making these pots nearly impossible to find.
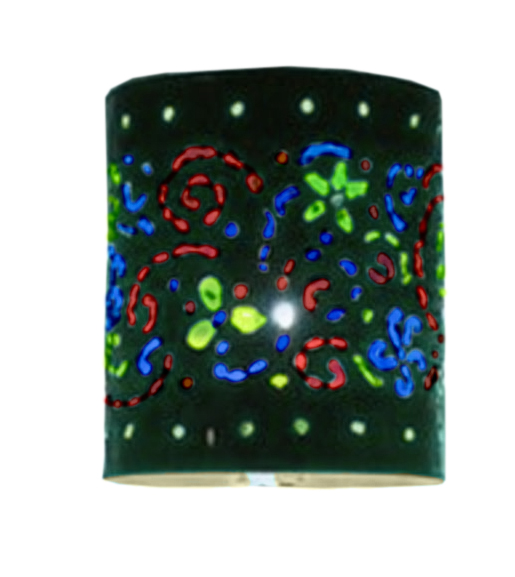
We recently discovered a company who has begun making 5" pots that are wonderfully similar to the original Lawnware pots. They even offer their pots in great, festive colors.
However if you want a larger pot you will need to think a little more creatively about a suitable substitute lamp pot.
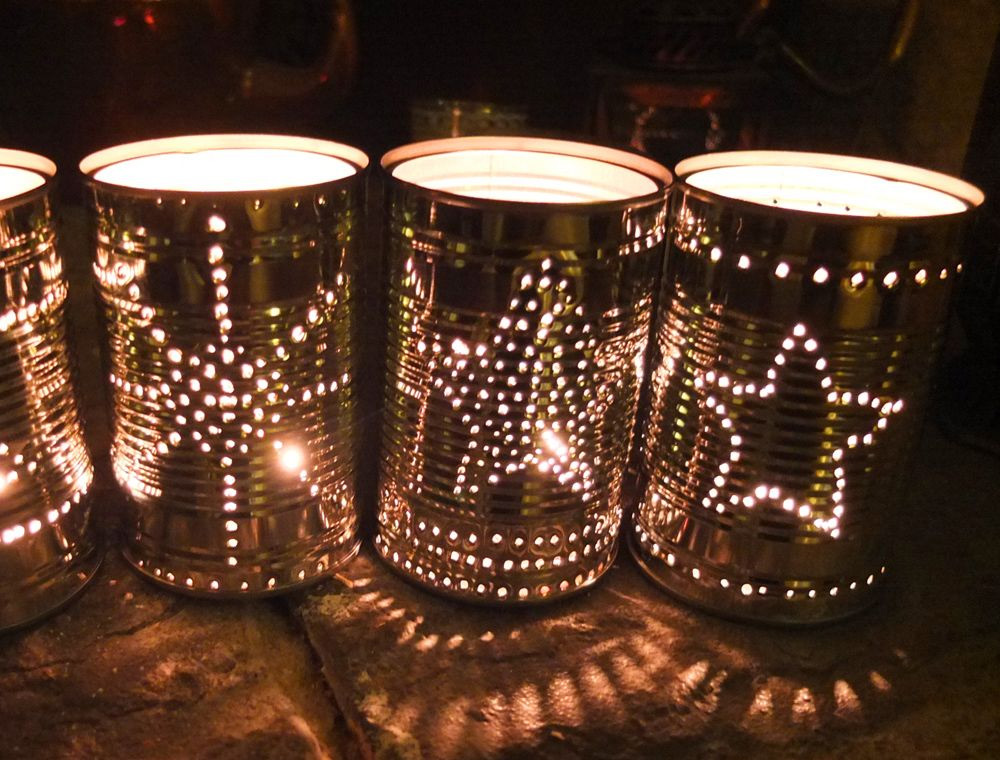
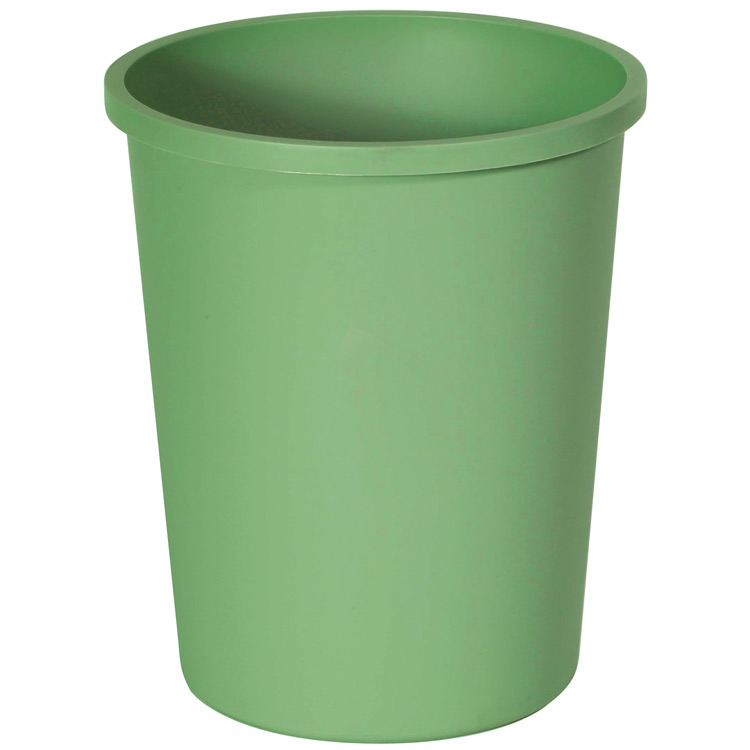
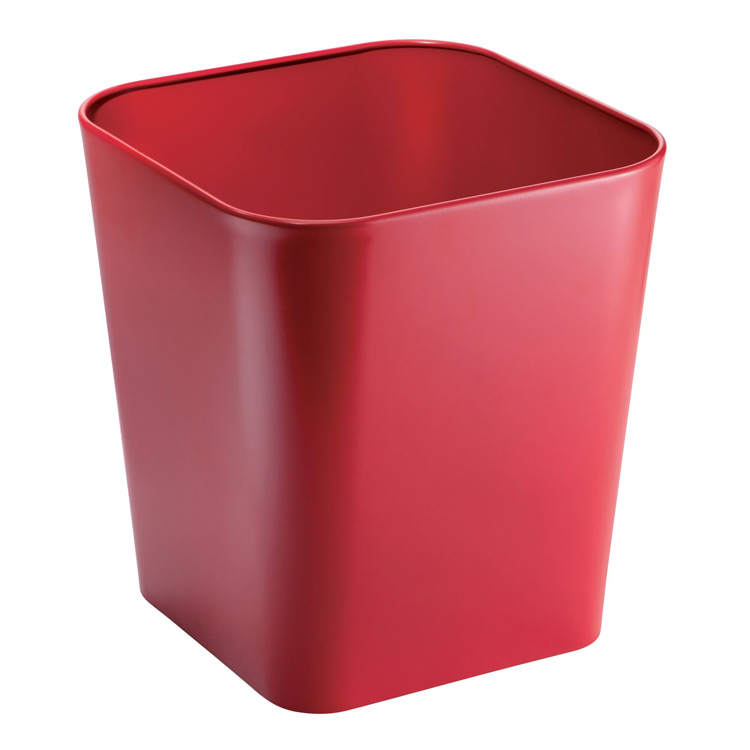
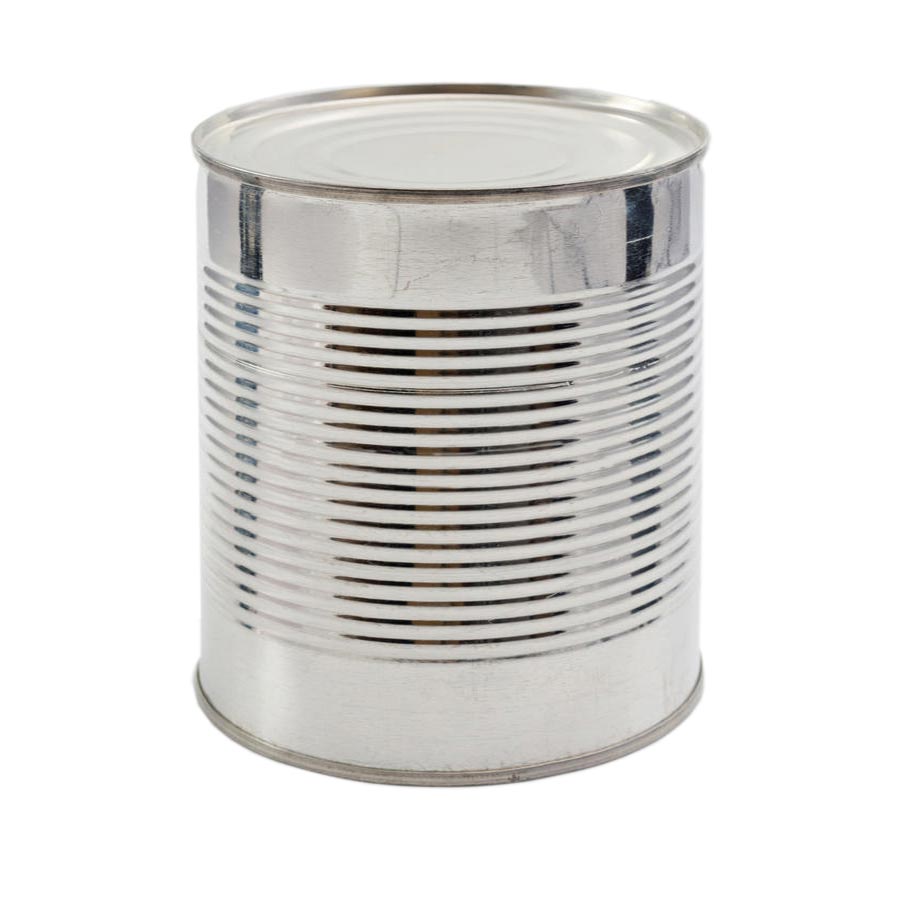 Perhaps a commercial size vegetable tin can or a piece of PVC pipe. The ridges on the tin can could aid with your design and the lack of any markings on the outside of a piece of PVC pipe provides you with an open ended canvas for creating your own design. Don't forget to look for end caps for your pvc pipe pieces. Small plastic or metal trash cans at any dollar store might work, provided that they are somewhat thick bodied.
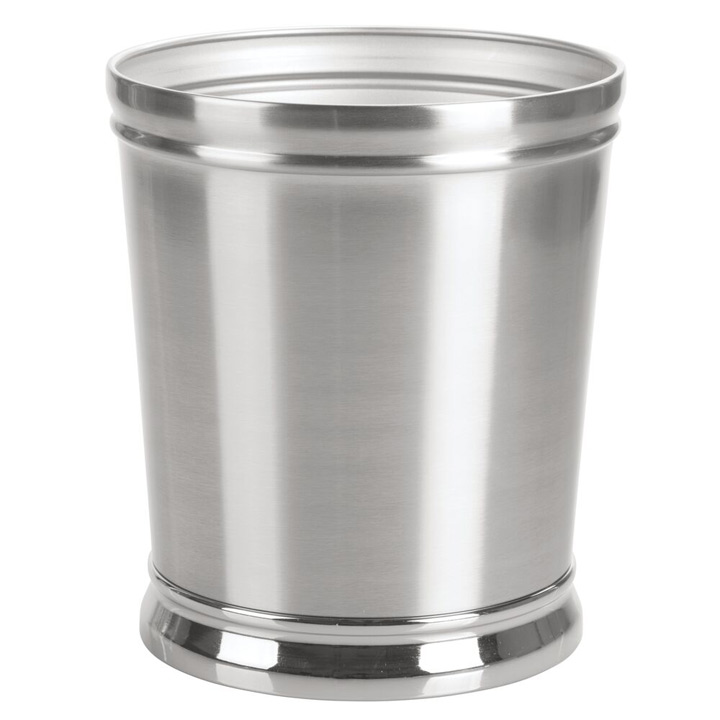
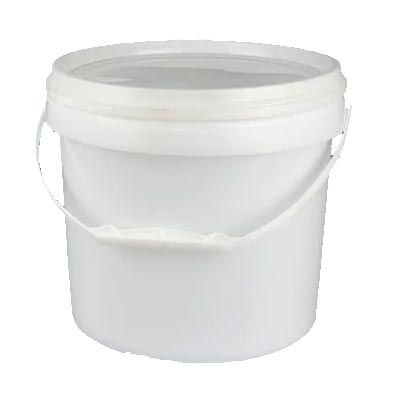
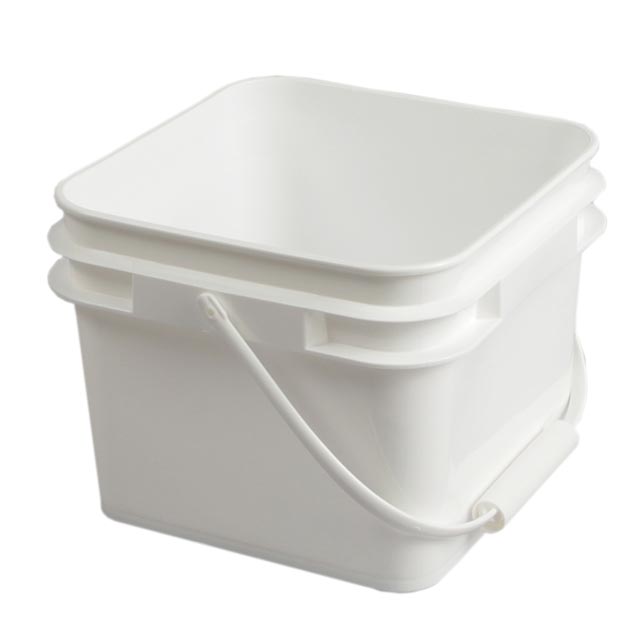 2, 3 or even 5-gallon plastic buckets, cut to the height you want your lamp would work well. They usually have side walls thick enough to accommodate drilling holes into for your design.
When looking for something to use as a substitute for the flower pots don't forget to look in the flower pot isle of your favorite store for potential replacements, and if that doesn't work consider looking in your local hardware store for ideas.
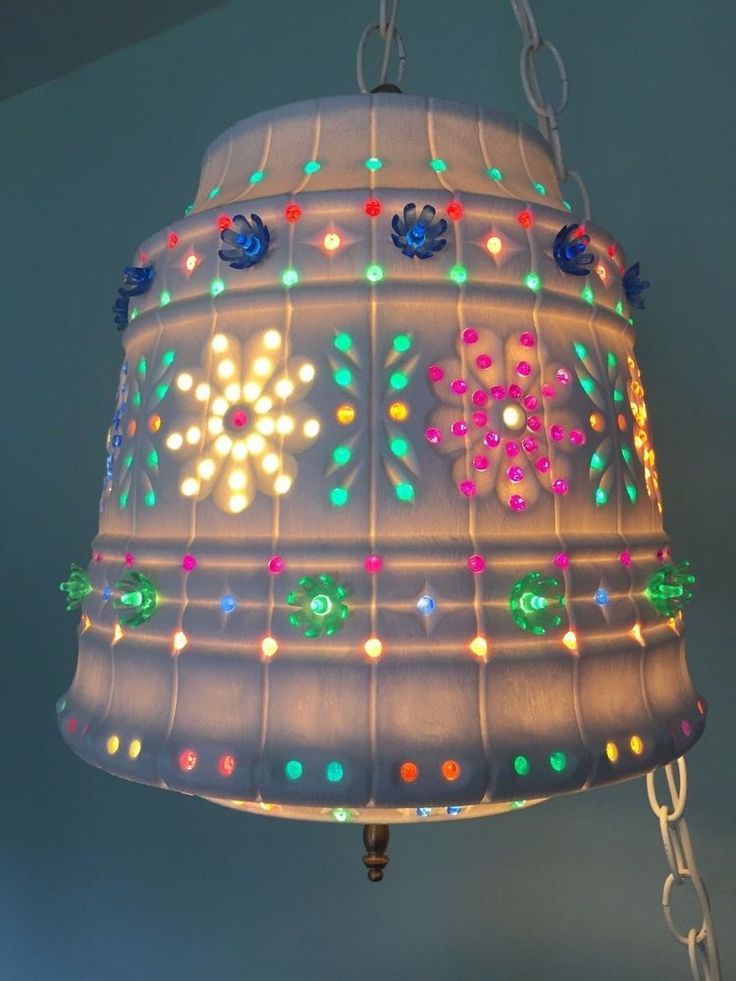
Remember, the beauty of flower pot lamps is that there are no hard and fast rules. Experiment with different bead patterns, pot sizes and shapes, and bulb types to create a truly unique and personalized lamp. Happy crafting!