| Place your ad or website information on every page of our website. Contact us for more details. |
|
|
| Your donations help us to be able to add more free craft patterns to this site for you. We Thank You. |
|
|
|
|
|
|
|
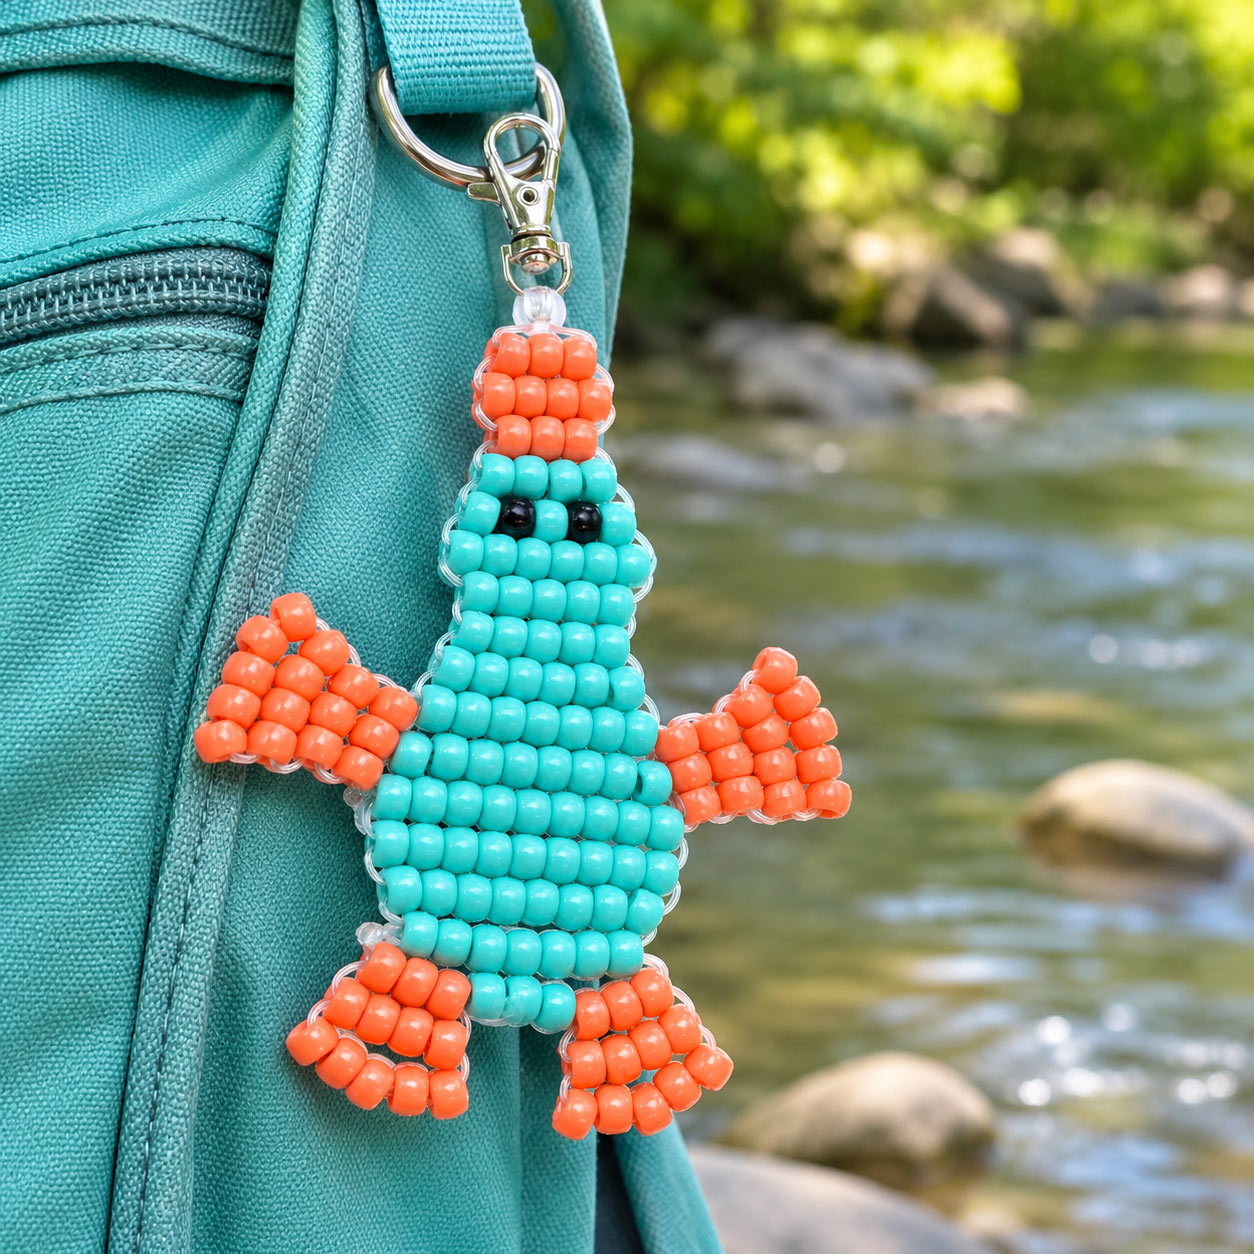
Pony Bead Platypus Keychain Pattern - Pony Bead Critters
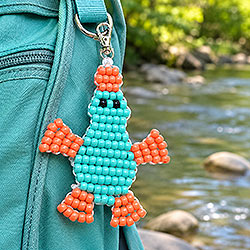
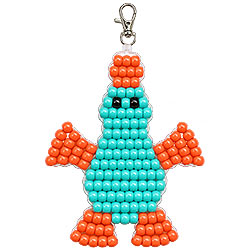
Have you ever seen an animal quite like a platypus? With a bill like a duck, a tail like a beaver and webbed feet, it's almost as if someone couldn't decide what kind of animal to make! Now you can have a little fun creating this unusual critter with our pony bead platypus pattern.
Dive into a craft so delightfully fun, it’s practically platypus-approved! Meet a little perky platypus, your new favorite tiny, toothless, tail-wagging (well, figuratively) friend. This isn’t just any craft — it’s a splash of joy, a snap of creativity, and a waddle-worthy work of art that fits in the palm of your hand. If you are a fan of the cartoon character Perry the Platypus, aka Agent P, you can make one of your own!(IYKYK)
Share your keys with a special visitor. He is a cute and unique animal that is fun and easy to make. Pony bead platypus keychains are great to give as gifts or bazaar projects but don't forget to keep one for yourself!
Perfect for classrooms, birthday party goody bags, or as a quirky keychain jingling on your backpack, this pony bead platypus is as versatile as he is adorable. And yes, we’re talking to you, fellow platypus lovers — the ones who know that monotremes are nature’s greatest plot twist. This little beaded buddy is your spirit animal made crafty.
|
|
|
|
|
|
| Note: For your convenience and to assist you in being able to locate the material required for this project, some or all of the materials listed may be linked to other websites or contain affiliate links. All links in the material list will open into a new window so that you don't lose this pattern page. |
Materials Needed:
|
|
|
|
|
|
|
Instructions
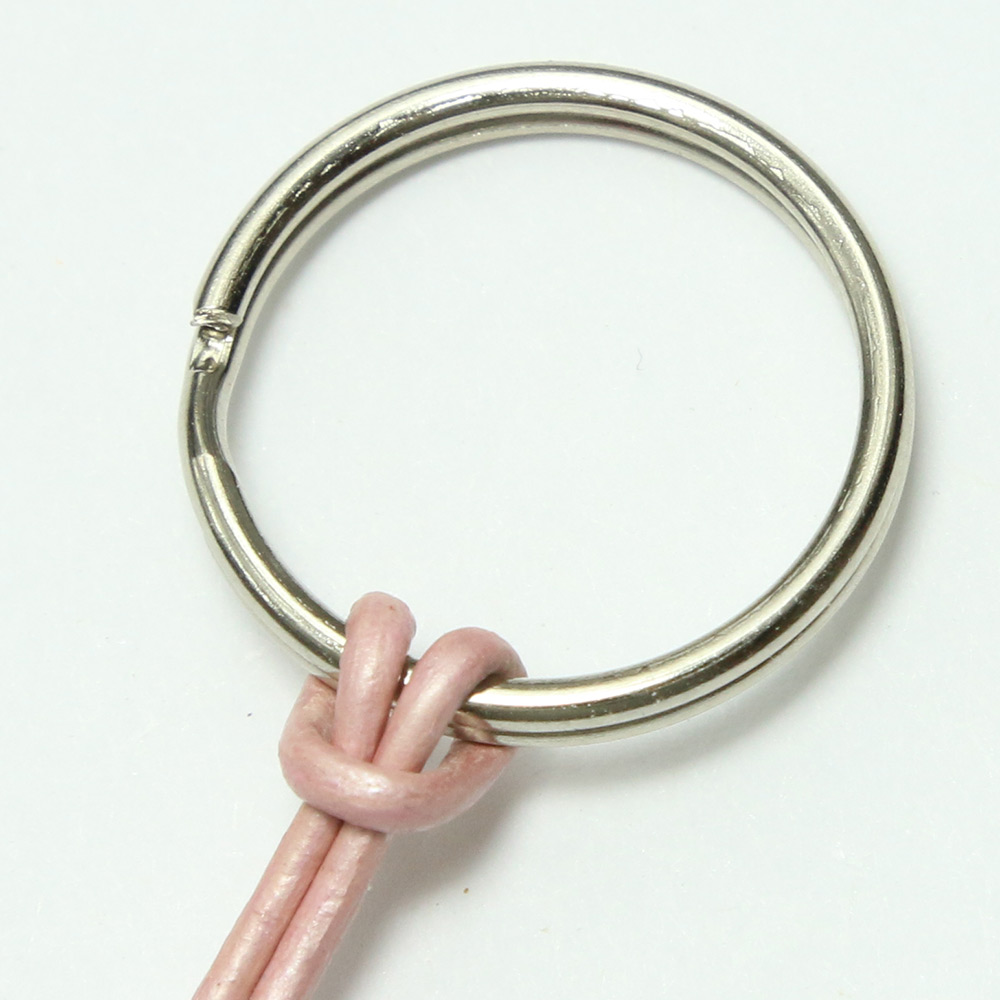
 1. Locate the halfway point of your longer cord and fold it in half. Attach the folded cord to your key ring or lanyard hook using a lark's head knot as shown in the photo. You should now have two cords with equal length hanging from the key ring.
Note: Omit the previous step if you are using a different type of connector. You will still want to fold your longer cord in half so you have two even lengths to begin weaving your beads.
2. Thread both ends of your longer cord through the clear pony bead and slide it up against the connector. I have found that this little step is quite helpful. It helps keep the cords together which gives your platypus a neat starting point, and provides a little separation between the connector and the beaded body and since this bead is clear it doesn't change the appearance of your pony bead platypus.
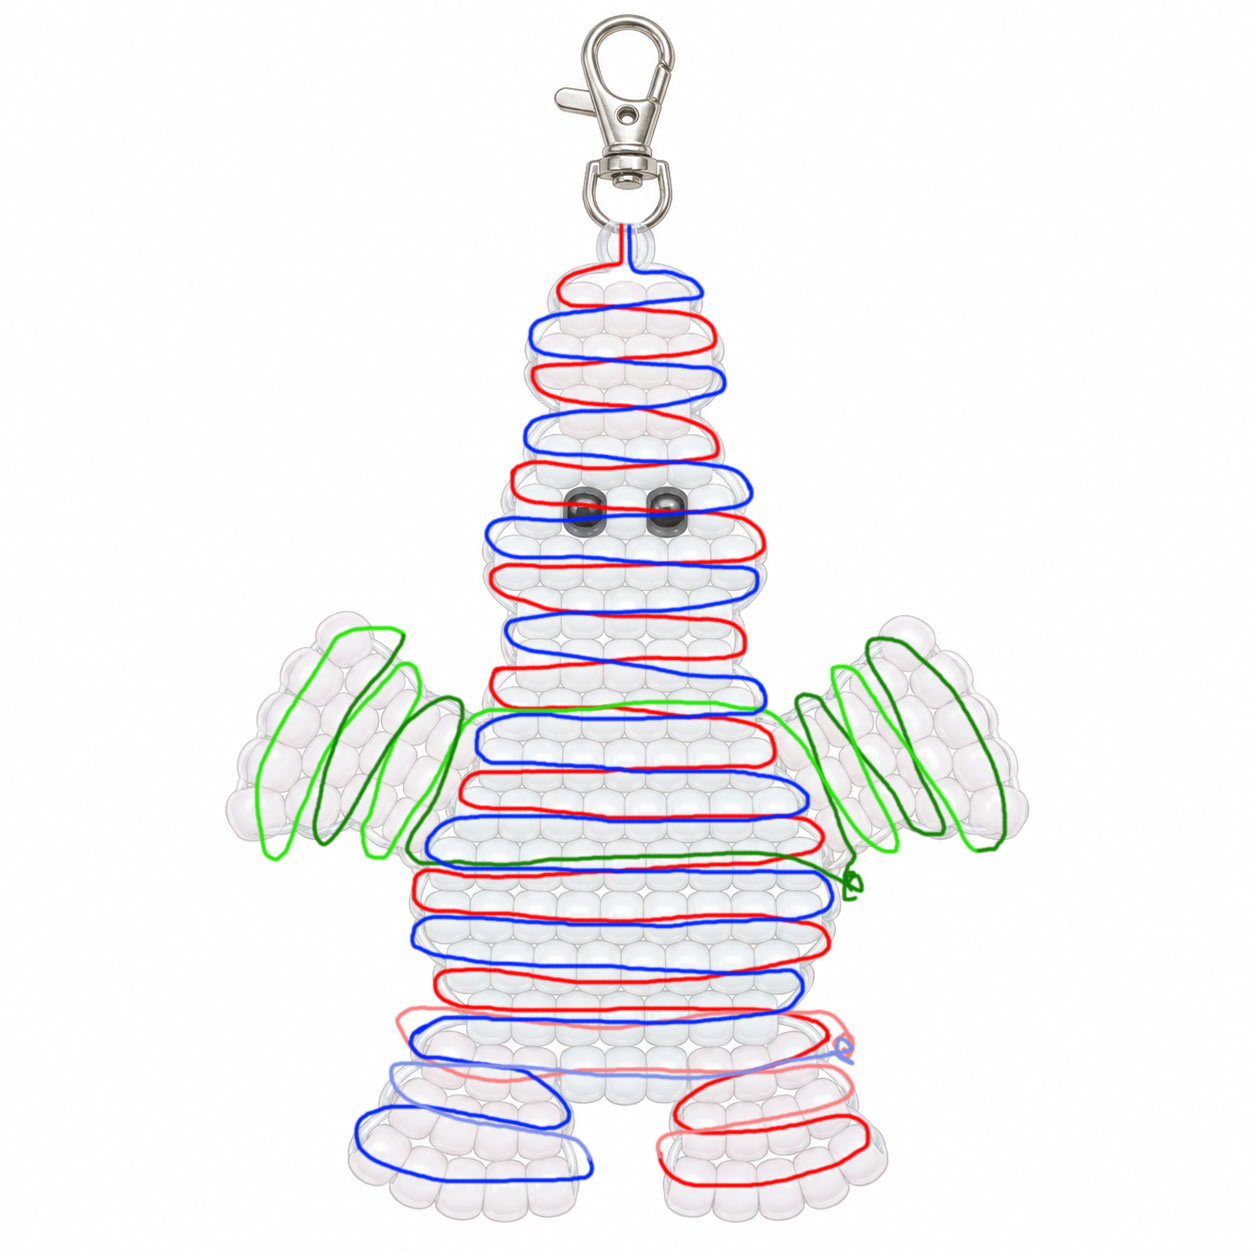
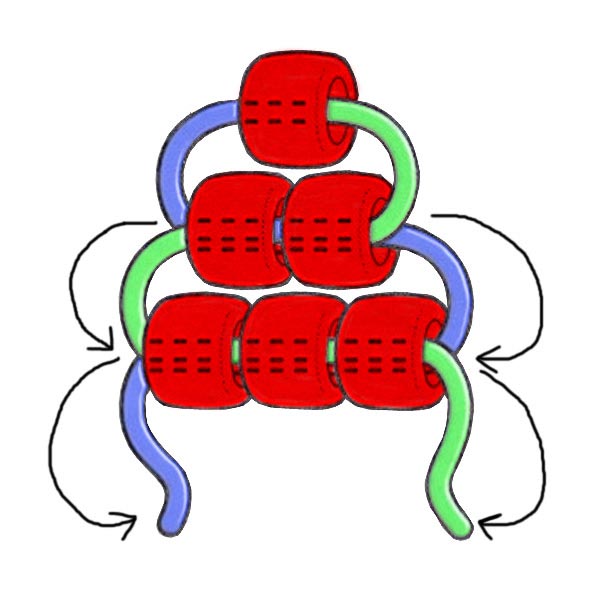 3. Using the platypus bead diagram below, begin weaving the rows beneath the clear bead. Thread the beads for the first row onto one cord, then pass the other cord back through those same beads from the opposite direction. Pull both cords until the beads sit together beneath the clear bead.
4. Continue following the red and blue cord paths in the diagram, working through the platypus pattern one row at a time. When you reach the upper feet, skip them for now and continue weaving the main body down to the lower feet as shown. The back feet require a little weaving back through previous rows. The diagram will help you through their cord paths.
Note: The tension of your cord does make a difference. The rows should sit together without being pulled so tightly that your platypus begins to curl or twist. If a row doesn't sit straight, just loosen it, straighten the beads and pull the slack out again.
5. When you finish weaving the main body and lower feet, bring the two ends of the longer cord together at the finishing point shown in the diagram. Tie them securely using a surgeon's knot or a double knot. Apply a drop of glue to the knot to prevent it from coming untied and trim the excess cord after it's dry.
6. Now it's time to add the upper feet using your shorter piece of cord. The green cord paths in the diagram show how this second cord is woven through the beads and body to form the upper feet. Follow the diagram to complete both feet.
7. When you finish the upper feet, tie the two ends of the shorter cord together securely using a surgeon's knot or a double knot. Apply a drop of glue to the knot and trim the excess cord after it's dry.
Note: If your platypus doesn't hold its shape well, you can weave a piece of pipe cleaner or wire through one of the widest rows to help it keep its shape.
Your pony bead platypus is finished! He's ready to tag along on your next adventure.
The illustration below uses red and blue to show you how each side of your longer cord is woven through the beads. The green path shows how the separate, shorter cord is woven to make the upper feet. The path color will change to a different shade where that same cord is woven back through a row (red cord changes to pink, etc). It opens to a larger image if you click it.

|
|
|
|
|
|
|
| Please Read: After you have finished with this free pattern won't you please be kind and say thank you by clicking on just one of the sponsors on this page. It doesn't cost you anything and any revenue generated also helps you because it allows us to be able to share this site with you at no charge and to be able to add more patterns and helpful information for you. We sincerely thank you! |
| Subjects and Terminology Related to this Pattern: pattern patterns instruction instructions free pattern free patterns free instruction free instructions pattern free patterns free instruction free, pony bead platypus, pony bead platypus pattern, beaded platypus pattern, platypus keychain, platypus keyring, beaded platypus, platypus craft, platypus bead craft, pony bead keychains, pony bead keyrings, pony bead keychain designs, pony bead keychain patterns, beaded keychains diy, keychain beads patterns, beaded keychain patterns, patterns for beaded keychains, diy beaded keychain, beads for keychains, pony bead keychain ideas, pony bead keychain tutorial, easy pony bead keychain patterns, free pony bead keychain patterns, pony bead keychain patterns free, easy pony bead keychain, cute pony bead keychain patterns, diy pony bead keychain, pony bead key chain, pony bead keychain patterns step by step, keychain pony bead patterns, pony bead keychain instructions, pony bead critter, beaded animal keychain, beaded animal patterns, Perry the Platypus craft, Agent P craft |
|
|
|
|



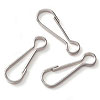 1 - Lanyard Hook
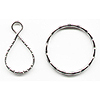 1 - Key Ring
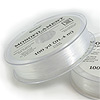 Monofilament Cord
 2mm Metallic Cord
 80 - Pony Beads
 64 - Pony Beads
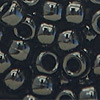 2 - Black Pony Beads
 1 - Clear Pony Bead
 Glue
 Scissors
 Ruler or Measuring Tape
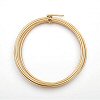 Beading Wire
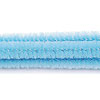 Pipe Cleaners