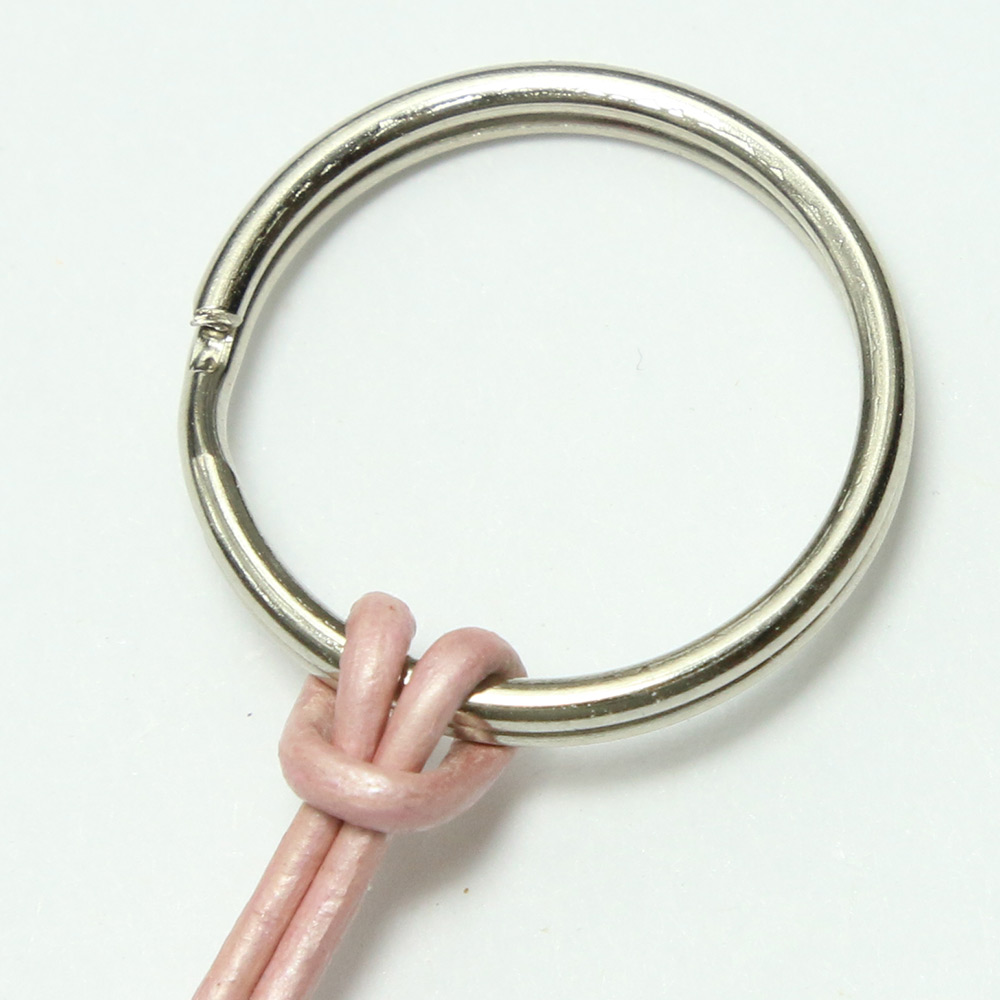
1. Find the half way point of the cord or wire you are using and attach it onto the keyring using a lark's head knot (shown in photo).
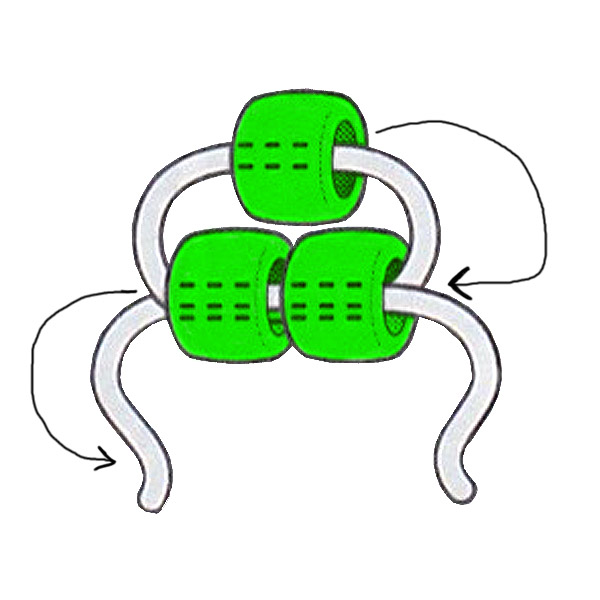
2. Begin threading the beads onto the cord following the pattern. To prevent your baseball from sagging we compensated in the following way: Thread onto your cord 1 bead more than half of the beads that will go on that row. For example, for a row of 7 beads you will thread on 4 beads. Using the same cord thread it through the corresponding bead from the last row and then back through the middle bead and then continued on with your row. The diagrammed image below may help you understand what we mean. You can click on the image at the bottom of the page for a larger, better resolution photo.
3. After finishing the pattern tie a double knot or surgeon's knot in the cords at the bottom and apply glue to secure.
(Optional but recommended to keep your baseball looking it's best.) 4. Weave your wire or pipe cleaner through the first row of your beaded baseball keychain to make it stiffer and hold it's shape.
(Seed beads or E beads can be used in place of pony beads to create smaller characters.)
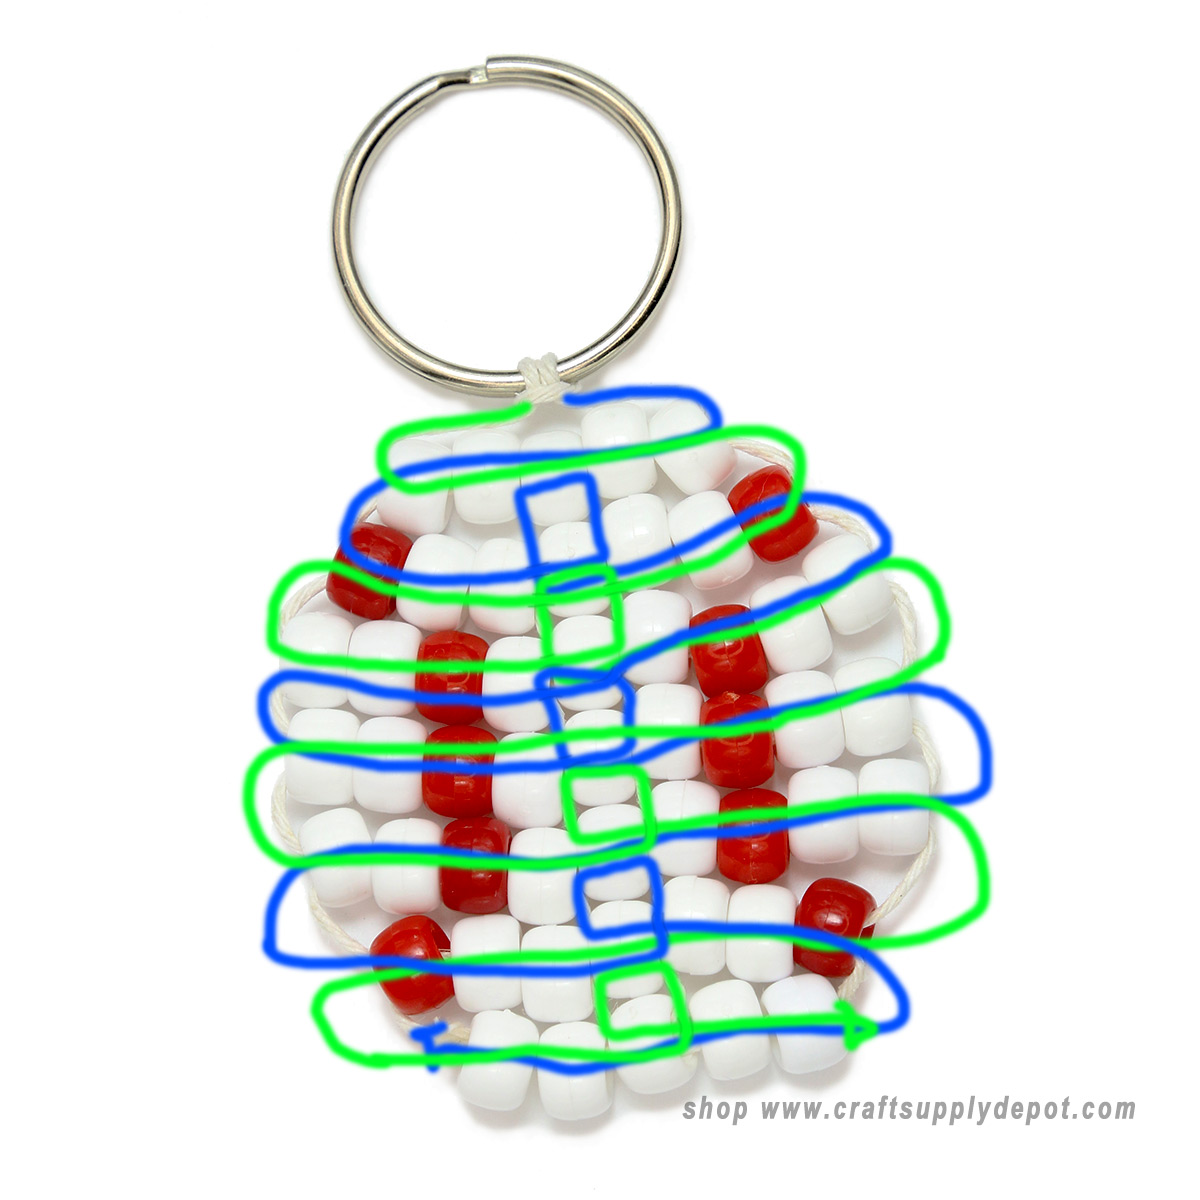
The illustration below uses green and blue to show you how each cord side is threaded into the beads. Your cord, of course, will be all the same color.


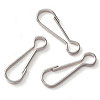 Lanyard hook
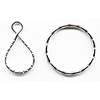 Key Ring
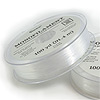 Monofilament Cord
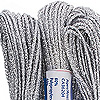 2mm metallic cording
 10 - Red Pony Beads
 41 - White Pony Beads
 Glue
Glue Beading Wire
 Pipe Cleaners