| SOLD BY Craft Supply Depot |
|
|
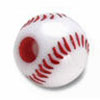
Pony Sports Ball Beads are shaped just like sports balls. They come in football, baseball, basketball, tennis ball, soccer ball, golf ball, volleyball and bowling pins. They are great for making jewelry, decorating shoes, backpacks, cakes, scrapbooks, keychains, homecoming corsages, lanyards and more! |
| Place your ad or website information on every page of our website. Contact us for more details. |
|
|
| Your donations help us to be able to add more free craft patterns to this site for you. We Thank You. |
|
|
|
|
|
Beaded Sea Turtle KeyChain Pattern - Free Beaded Turtle Keyring Pattern - Fun Beaded Key Rings
There's an undeniable magin about our love for sea turtles. They glide through the waters with such grace, symbolizing wisdom, longevity, resilience, and a peaceful journey. So, it's no surprise that bringing a piece of that serene beauty into our daily lives is immensely appealing. Attached to your keys, backpack, zipper pull or purse, the beaded sea turtle becomes a constant companion. It's a subtle, yet powerful, reminder of the ocean's calm, a symbol of hope, or perhaps even a nod to your own love for marine life.
Attached to your keys, backpack, or purse, the beaded sea turtle becomes a constant companion. It's a subtle, yet powerful, reminder of the ocean's calm, a symbol of hope, or perhaps even a nod to your own wanderlust and love for marine life.
Share your photos with us. If we use them on our website you will get 25% off of your next order!
|
|
| Note: For your convenience and to assist you in being able to locate the material required for this project, some or all of the materials listed may be linked to other websites or contain affiliate links. All links in the material list will open into a new window so that you don't lose this pattern page. |
Materials Needed:
Note: Links to product pages will open in a separate window.
You will need one connector such as a
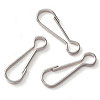 Lanyard hook, Lanyard hook,
or any type of
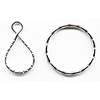 Key Ring. Key Ring.
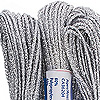
Cord:
You will need about
3 yards of cord for your turtle.
There are lots of different types of cords you can use. We prefer a cord that is 1mm to 2mm thick because it helps your turtle keychain keep it's shape better. Alternatively, you can use a thinner cord and weave a little wire or a pipe cleaner into your keychain turtle to help it keep it's shape that way. Either way works just fine but you can experiment with it to see which method you prefer.
One good choice is
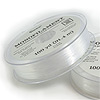 Monofilament Cord Monofilament Cord
or
 2mm metallic cording. Other great choices would be jute or hemp cord, leather necklace cord, rattail cord, shoelaces, ribbon, paracord, or a strong jewelry cord like tigertail. 2mm metallic cording. Other great choices would be jute or hemp cord, leather necklace cord, rattail cord, shoelaces, ribbon, paracord, or a strong jewelry cord like tigertail.
For ours, we used a green jute cord.
Beads needed:
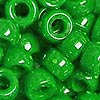 59 - Green Pony Beads (We used a marbled green for just the slightest color variances). 59 - Green Pony Beads (We used a marbled green for just the slightest color variances).
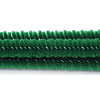
34 - Dark Green Pony Beads.
Other Things Needed:
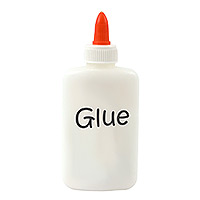 Glue GlueOptional: For a stiffer turtle you can include a little wire or a pipe cleaner with your cord to help keep it's shape
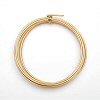 Beading Wire Beading Wire
OR
 Pipe Cleaners Pipe Cleaners |
|
|
Instructions
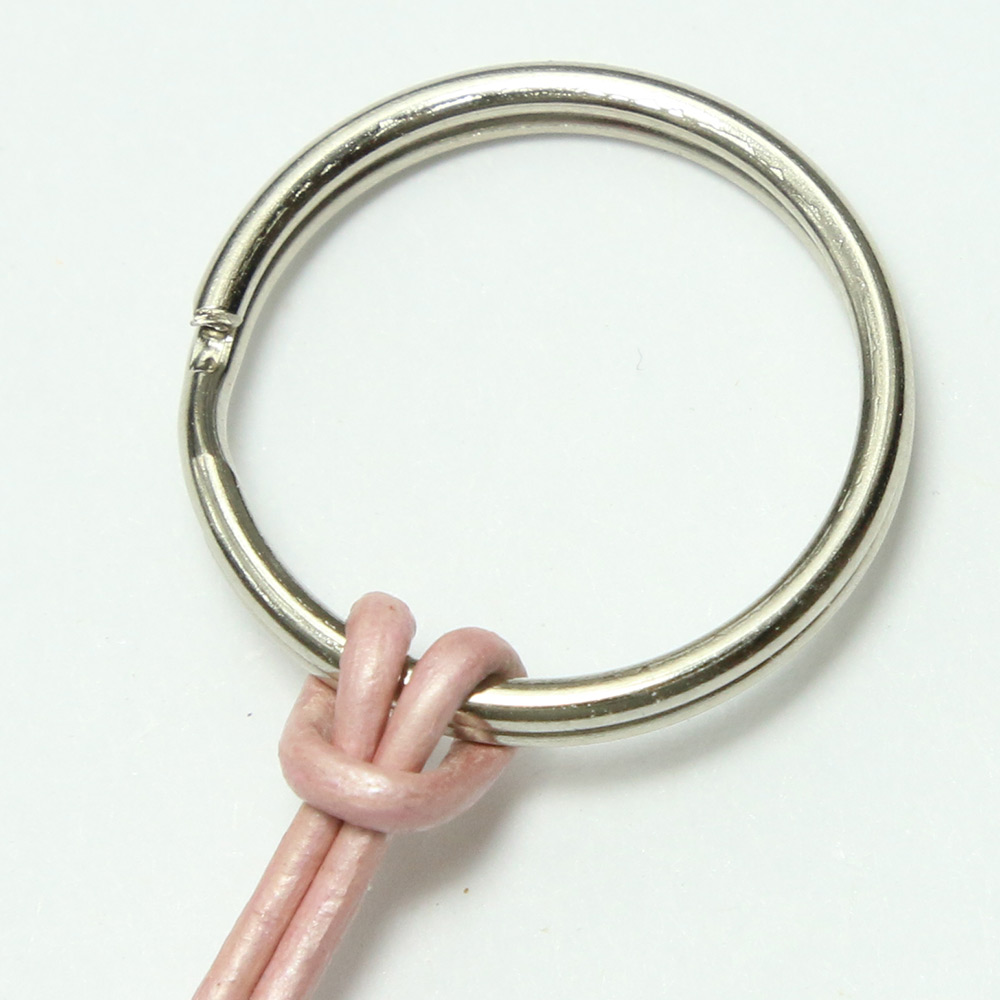
1. Find the half way point of the cord or wire you are using and attach it onto the keyring using a lark's head knot (shown in photo).
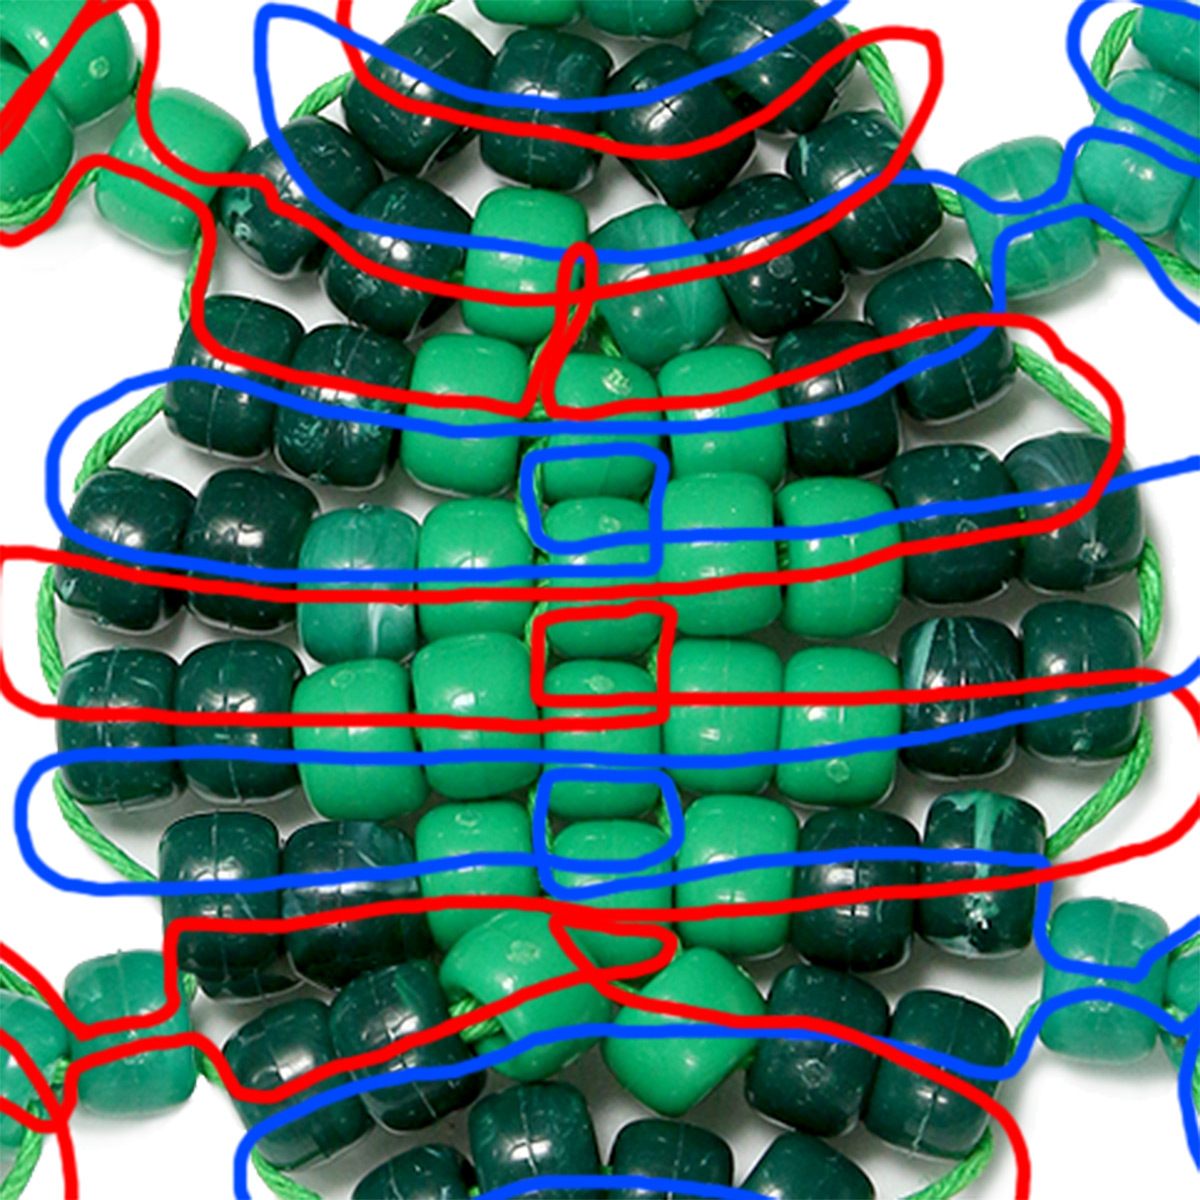
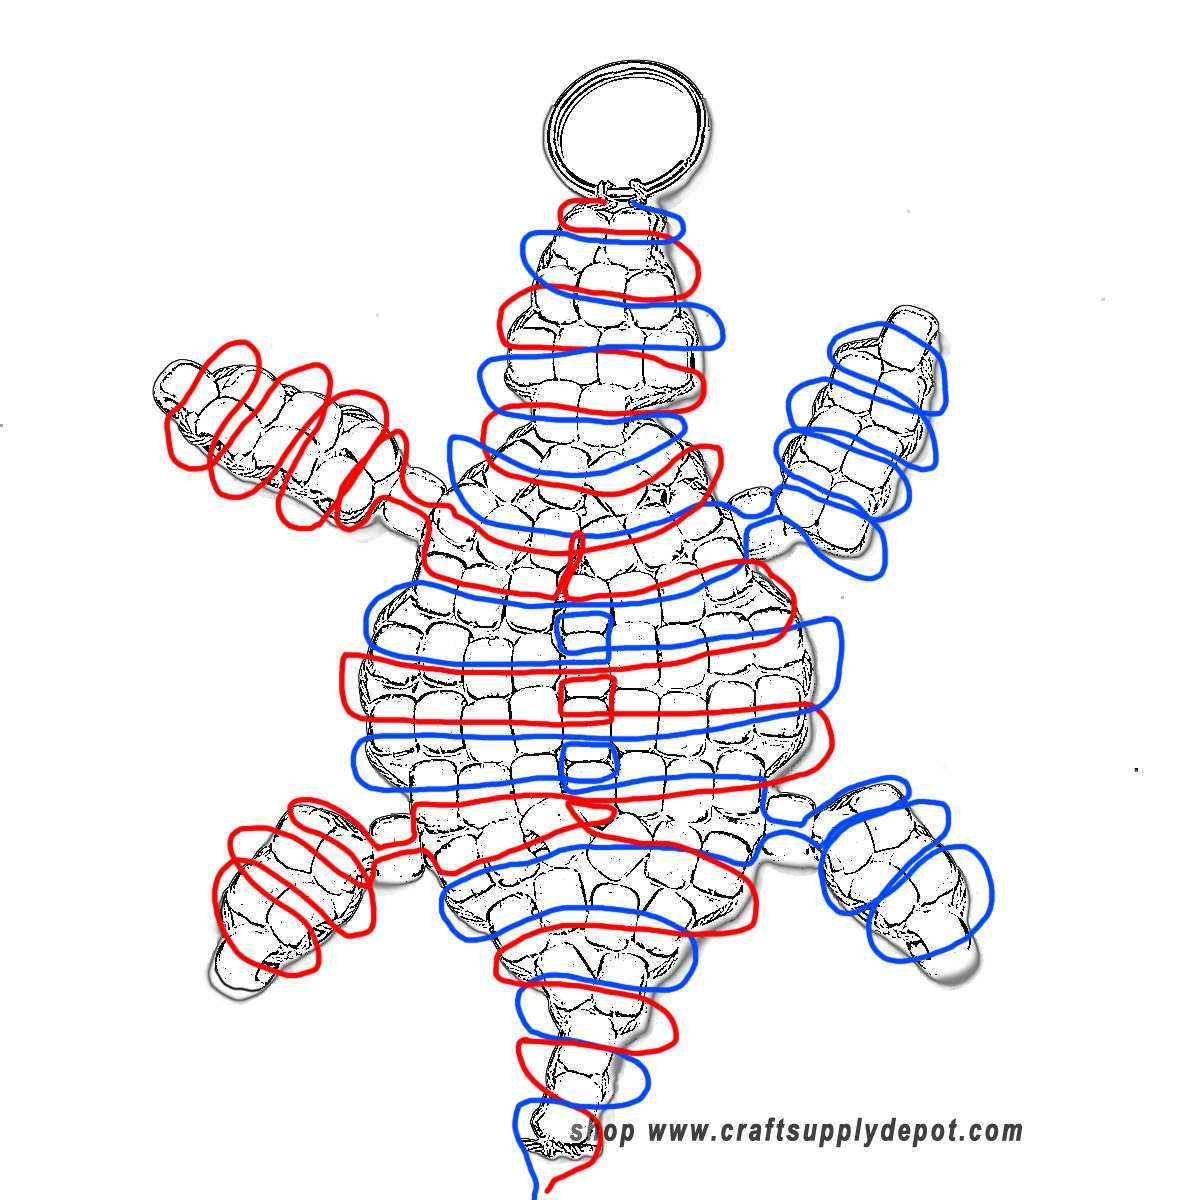
2. Begin threading the beads onto the cord following the pattern below. To prevent your turtle from sagging in the middle we compensated in the following way: For a row with an odd number of beads: thread onto your cord 1 bead more than half of the beads that will go on that row. For example, for a row of 7 beads you will thread on 4 beads (one more than half). Using the same cord thread it through the corresponding bead from the last row and then back through the middle bead of the row you are working on and then continue on with your row.
For a row with an even number of beads: Thread on half of the beads and then with your cord go up and wrap your cord around the cord from the previous row, then add the rest of your beads.
The diagrammed images may help you understand what we mean. You can click on either of the the images, here or at the bottom of the page for a larger, better resolution photo.
3. After finishing the pattern tie a double knot or surgeon's knot in the cords at the bottom and apply glue to secure.
(Optional, and probably not needed) 4. Weave your wire or pipe cleaner through one of the widest rows in the middle of your beaded turtle keychain to make it stiffer and hold it's shape.
(Seed beads or E beads can be used in place of pony beads to create smaller characters.)
The illustration below uses red and blue to show you how each cord side is threaded into the beads. Your cord, of course, will be all the same color.
|
|
|
|
|
| Please Read: After you have finished with this free pattern won't you please be kind and say thank you by clicking on just one of the ads on this page. It doesn't cost you anything and any revenue generated also helps you because it allows us to be able to share this site with you at no chargea and to be able to add more patterns and helpful information for you. We sincerely thank you! |
| Subjects and Terminology Related to this Pattern: pattern patterns instruction instructions free pattern free patterns free instruction free instructions pattern free patterns free instruction free keychain instructions beaded turtle keychain beaded tortoise keychain beaded critter key chain beaded sea turtle key chain |
|
|