| Place your ad or website information on every page of our website. Contact us for more details. |
|
|
| Your donations help us to be able to add more free craft patterns to this site for you. We Thank You. |
|
|
|
|
|
Free Beaded Christmas Tree Keychain Pattern
Create a festive Christmas Tree Keychain using colorful pony beads and cord with this easy-to-follow free beading pattern. This beginner-friendly project works up quickly and is a fun way to make holiday keychains, backpack charms, zipper pulls, gift toppers, stocking stuffers, party favors, or handmade ornaments. Decorate your tree with your favorite bead colors to create ornaments, garland, and lights for a unique holiday design.
Made with colorful pony beads and simple weaving techniques, these cheerful little trees are decorated with bright ornaments, brown pony beads to resemble a wood trunk or tree stand. It is an easy project that works well for holiday crafting, classroom activities, scout groups, family craft nights, and handmade gifts.
Clip your finished Christmas tree onto keys, backpacks, purses, gift bags, or use it as a holiday package decoration. Make several in different shades of green and ornament colors to decorate your entire holiday season!
|
|
| Note: For your convenience and to assist you in being able to locate the material required for this project, some or all of the materials listed may be linked to other websites or contain affiliate links. All links in the material list will open into a new window so that you don't lose this pattern page. |
Materials Needed:
|
|
|
Instructions
 1. Locate the halfway point of your cord or lacing and fold it in half. Attach the folded cord to your key ring or lanyard hook using a lark's head knot as shown in the photo. You should now have two cords hanging from the key ring. 1. Locate the halfway point of your cord or lacing and fold it in half. Attach the folded cord to your key ring or lanyard hook using a lark's head knot as shown in the photo. You should now have two cords hanging from the key ring.
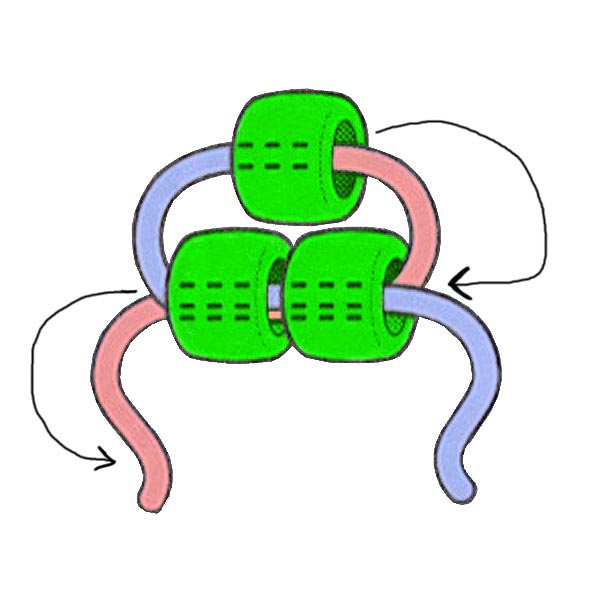 2. Using the bead diagram for the Christmas tree keychain located at the bottom of these instructions as your guide, begin weaving the rows of beads one row at a time, starting at the top of the tree with the star bead. To begin, thread both cords through the star and then pass both cords through each row of beads from opposite directions as shown in the illustration to the right. Pull both cords gently and evenly so that the beads rest snugly against the previous row. 2. Using the bead diagram for the Christmas tree keychain located at the bottom of these instructions as your guide, begin weaving the rows of beads one row at a time, starting at the top of the tree with the star bead. To begin, thread both cords through the star and then pass both cords through each row of beads from opposite directions as shown in the illustration to the right. Pull both cords gently and evenly so that the beads rest snugly against the previous row.
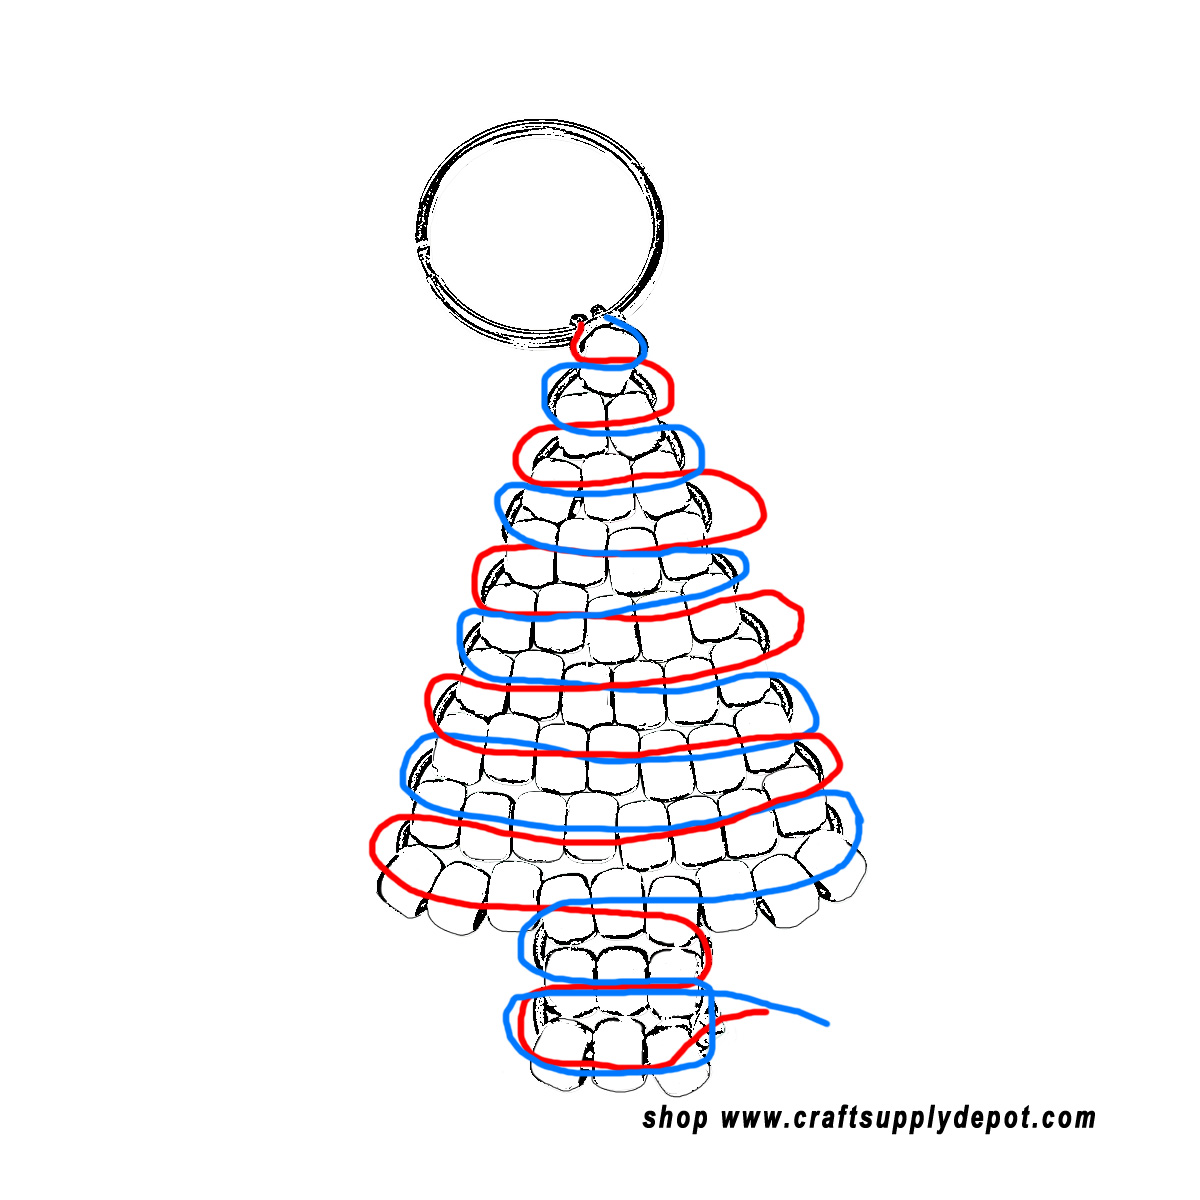
3. Continue working downward through the Christmas tree pattern, carefully following the cord paths shown in the diagram. As you add each row, gently pull the cords snug and check that the beads are lying neatly in place. Maintaining even tension throughout the project will help your finished tree keep its shape.
Christmas Tree Bead Row Guide
| Row |
Number of Beads |
Suggested Beads |
| 1 |
1 bead |
Green |
| 2 |
2 beads |
Green |
| 3 |
3 beads |
Green with 1 optional accent bead |
| 4 |
4 beads |
Green with 1 optional accent bead |
| 5 |
5 beads |
Green with 1 optional accent bead |
| 6 |
6 beads |
Green with 1 optional accent bead |
| 7 |
7 beads |
Green with 1 or 2 optional accent beads |
| 8 |
8 beads |
Green with 1 optional accent bead |
| 9 |
9 beads |
Green with 1 or 2 optional accent beads |
| 10 |
3 beads |
Brown trunk beads |
| 11 |
3 beads |
Brown trunk beads |
4. Continue adding the colorful ornament beads, green tree beads, and brown beads as shown in the diagram. Feel free to substitute different ornament colors to create your own unique holiday tree.
5. When you get to the last row of 9 beads at the bottom of your tree, thread your cord through 6 beads. With the other cord, thread your cord through 3 new beads and then through the last 3 beads on the other side. Continue adding the brown beads as shown in the diagram by threading both cords through the first row of brown beads and then with only 1 cord, thread through the second row of brown beads. By doing this you leave both cords on the same side, next to each other. Tie the cords together securely using a surgeon's knot or a double knot. Apply a small drop of glue to the knot to prevent unraveling. Trim the excess cord after the glue has dried.
Your beaded Christmas tree keychain is now complete and ready to decorate your keys, backpack, purse, gift package, or holiday tree!
The illustration below uses red and blue to show you how each side of your cord is woven through the beads. It opens to a larger image if you click it.
Make It Your Own
Have fun decorating your Christmas tree with different bead colors and finishes. A bead done in all translucent colors will create more of an ornament that light will shine nicely through. You can also change the ornament colors to match your holiday decorating theme or make several trees in different color combinations for gifts and decorations.
Did You Know?
Decorated evergreen trees became popular Christmas symbols long before electric lights were invented. Early trees were often decorated with fruit, nuts, paper ornaments, candles, and handmade decorations. Your colorful pony beads can represent the lights and ornaments found on modern Christmas trees.
|
|
|
|
|
| Please Read: After you have finished with this free pattern won't you please be kind and say thank you by clicking on just one of the sponsors on this page. It doesn't cost you anything and any revenue generated also helps you because it allows us to be able to share this site with you at no charge and to be able to add more patterns and helpful information for you. We sincerely thank you! |
| Subjects and Terminology Related to this Pattern: beaded christmas tree keychain, pony bead christmas tree pattern, christmas pony bead crafts, christmas keychain pattern, holiday bead crafts, christmas bead pattern, christmas tree keyring, free christmas craft pattern, pony bead keychain, holiday crafts for kids, beaded christmas tree keychain, pony bead christmas tree pattern, christmas pony bead keychain, free christmas bead pattern, holiday keychain craft, christmas bead craft, beaded ornament pattern, pony bead holiday project, easy christmas craft, christmas backpack charm |
|
|






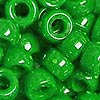 38 - Green Pony Beads
 7 - Assorted Pony Beads
 6 - Brown Pony Beads
 1 - Star Pony Bead
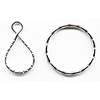 1 - Key Ring or Lanyard
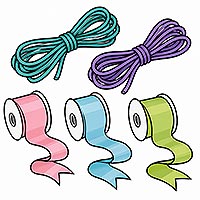 5 feet
 Scissors