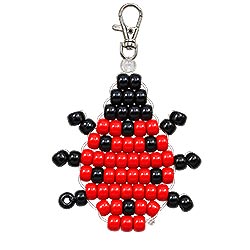
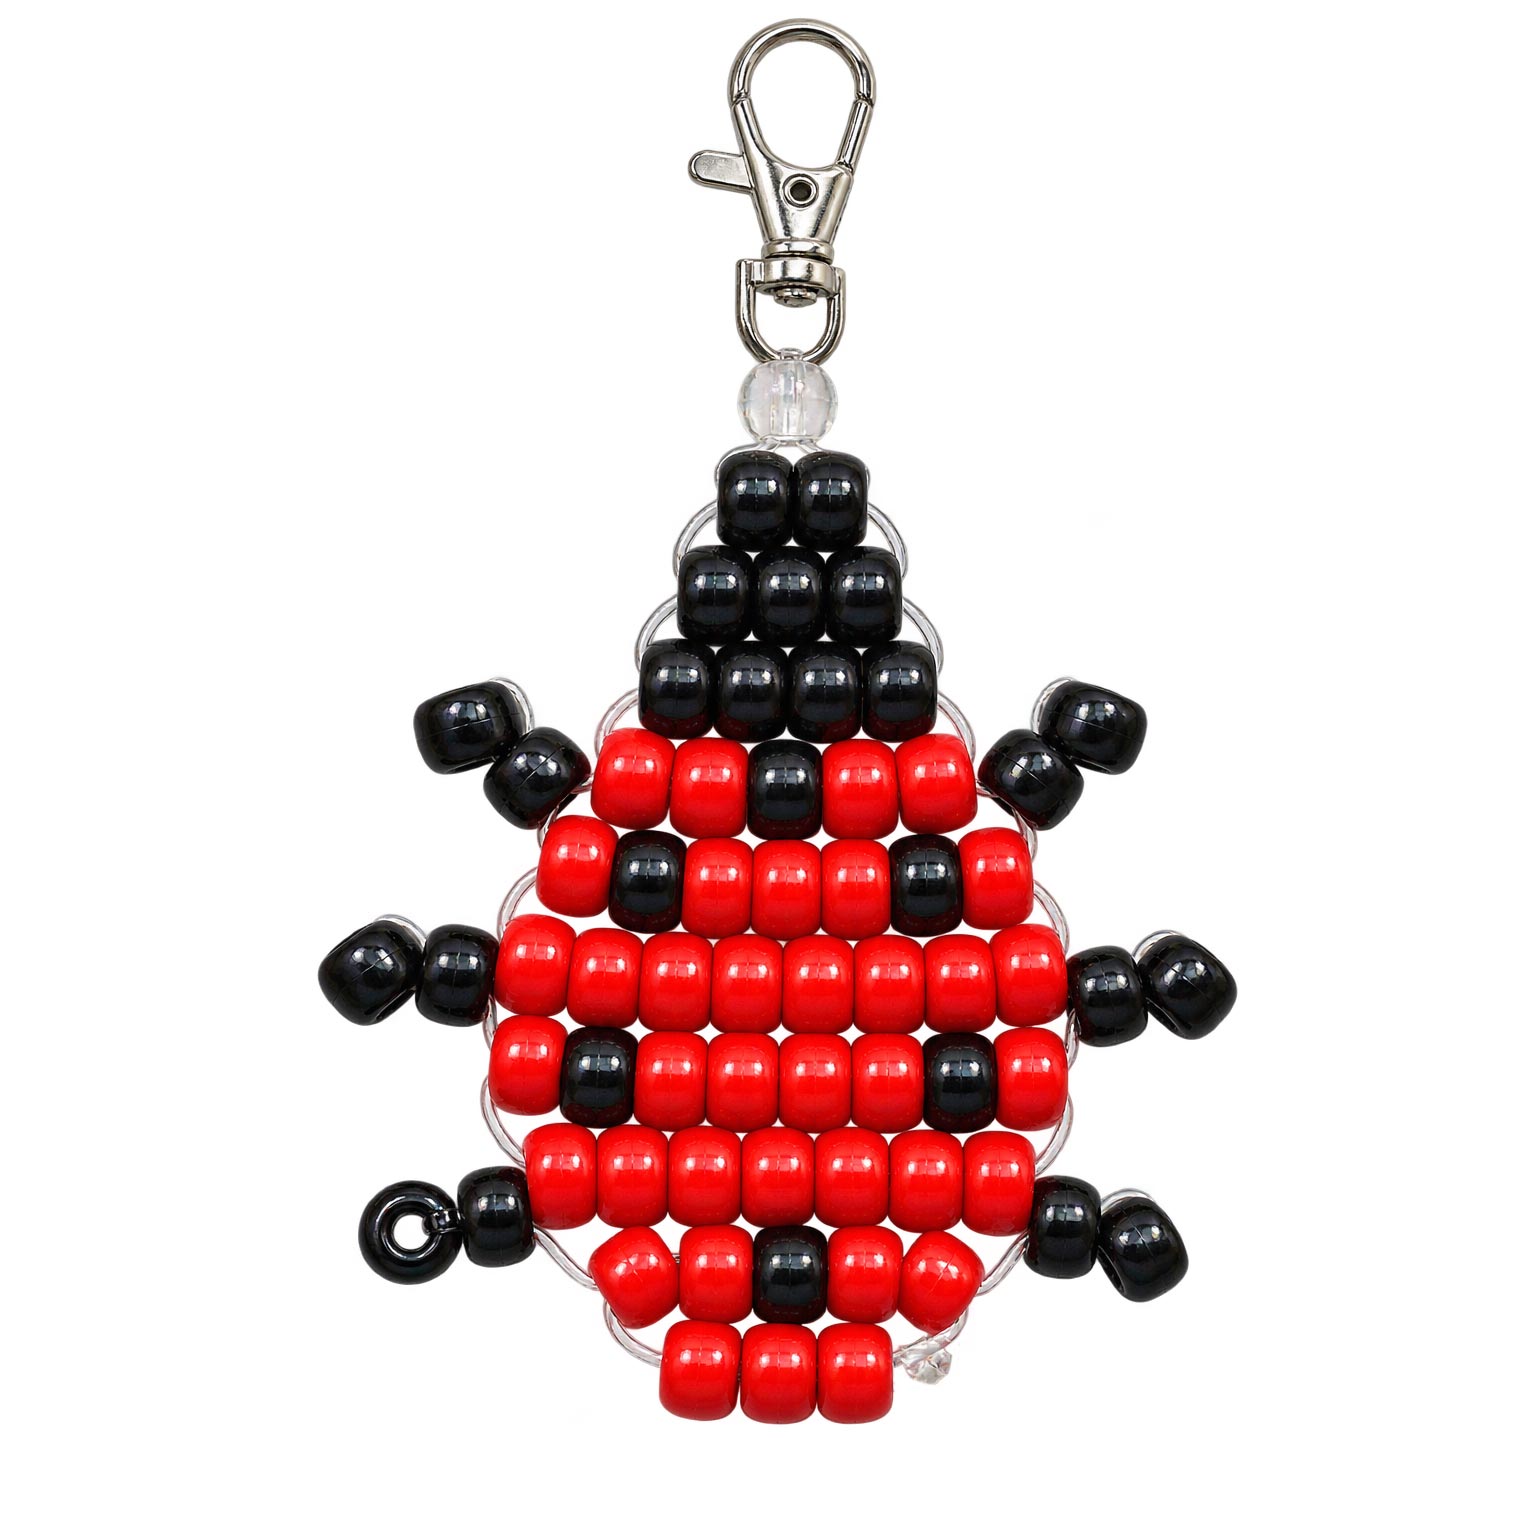
Free beaded ladybug keychain pattern made with pony beads for ladybug lovers, bug crafts and kids craft projects


Fun Craft Patterns - free craft patterns and project instructions for all sorts of crafts including beading, crochet, sewing and handmade craft ideas.
   
* Home  
* Helpful Information  
* Beaded Crafts  
* Kids Craft Patterns  
* Lighted Craft Projects  
* Other Craft Instructions  
* Jewelry Craft Projects  
* Wearable Projects  
* Plastic Canvas Projects  
* Other Holiday Craft Ideas  
* Crochet Patterns  
* Beaded Keychains  
* Doll Crafts  
* Christmas Crafts  
* Halloween Craft Projects  
* Fall Craft Ideas  
* Easter Craft Instructions  
   
* Contact Us  
   
 
Please help support our site by visiting the sponsors in our ads.


Place your ad or website information on every page of our website. Contact us for more details.

Your donations help us to be able to add more free craft patterns to this site for you. We Thank You.


Beaded Ladybug Key Chain Pattern - Free Beaded Ladybug Keyring Pattern - Fun Beaded Key Rings


Make a Little Ladybug to Share!

I've always thought ladybugs were such cheerful little creatures. They're a welcome sight in the garden, and I know quite a few gardeners and nature lovers who would enjoy having one around all year long. This ladybug pony bead pattern makes a cute little beaded critter that doesn't need a garden to feel right at home!

Ladybugs have long been considered a sign of good luck. I don't know that a little pony bead ladybug can bring anyone good fortune, but I certainly wouldn't mind giving someone a little extra luck! Imagine giving one to a friend starting a new job, someone moving into a new home, or a gardener hoping for a wonderful growing season. Even if the luck doesn't arrive, at least they'll have a cheerful little ladybug friend to enjoy.

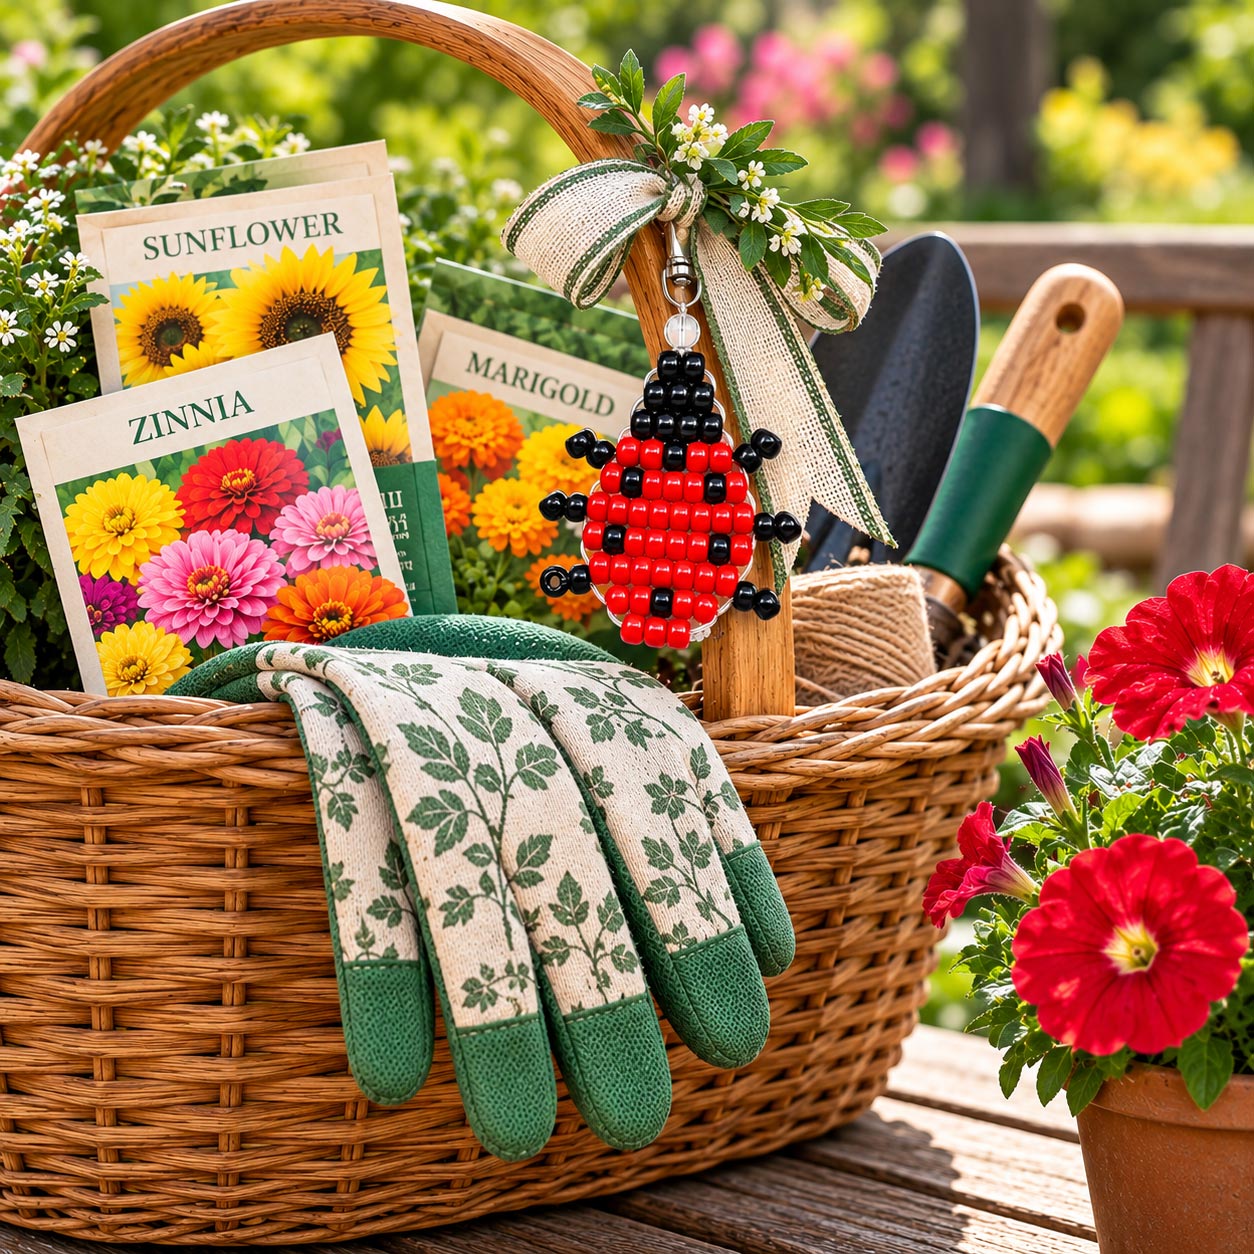
I can imagine this pony bead ladybug decorating a garden wreath, dangling in a greenhouse window among all those growing plants, or hanging from a flowerpot. It could add a little charm to a gardener's gift basket, too. And for those of us who can't spend as much time in the garden as we'd like, a beaded ladybug keychain is a fun way to take a little bit of the garden with us wherever we go.

Hang one on your garden shed, add one to a spring wreath, or attach one to a gift package. I think I'd have more ideas for using them than time to make them!

Pony bead ladybug ornament on a gardener's gift basket, a handmade garden craft and good luck gift idea


Note: For your convenience and to assist you in being able to locate the material required for this project, some or all of the materials listed may be linked to other websites or contain affiliate links. All links in the material list will open into a new window so that you don't lose this pattern page.
Materials Needed:
  • Lanyard hook for a handmade pony bead ladybug decoration or keychain. 1 - Lanyard Hook OR Key ring for making a beaded ladybug keychain from a pony bead ladybug pattern. 1 - Key Ring
  • Cord - Approximately 2 yards

    There are lots of different types of cord you can use for your beaded ladybug. Of the cords we've tried, flat plastic lacing such as Rexlace (also called boondoggle or plastic lace) seems to work best for helping the beads sit neatly together and keeping your finished ladybug in shape. Round cord about 1 1/2mm to 2mm thick also works well. If you choose a thinner cord, you can weave a little wire or a pipe cleaner into your ladybug if it doesn't hold its shape well.

    Helpful Hint: If your cord ends fray easily, try dipping them into a little melted wax and smoothing them out with your fingers. This helps prevent fraying and creates stiffer ends for threading through your beads.

    Metallic cord for a ladybug pony bead pattern and handmade garden decoration. 2mm Metallic Cord
  • Black pony beads for the spots, head and legs of a pony bead ladybug. 27 - Black Pony Beads
  • Red pony beads for the body of a handmade beaded ladybug ornament. 37 - Red Pony Beads
  • Glue for securing the finishing knots on a pony bead ladybug pattern. Glue (We used super glue.)
  • Scissors for cutting cord when making a pony bead ladybug ornament. Scissors
  • Ruler or measuring tape for measuring cord for a beaded ladybug keychain. Ruler or Measuring Tape
  • Optional beading wire for helping a pony bead ladybug hold its shape. Optional - Beading Wire OR Optional pipe cleaner for supporting a handmade pony bead ladybug. Pipe Cleaner

Instructions

1. Thread your cord through the base of your lanyard hook or key ring, then bring the ends together so they are even. Thread both cord ends through a clear pony bead and slide the bead up against the connector. This bead helps keep the cords together and provides a neat starting point for your ladybug.
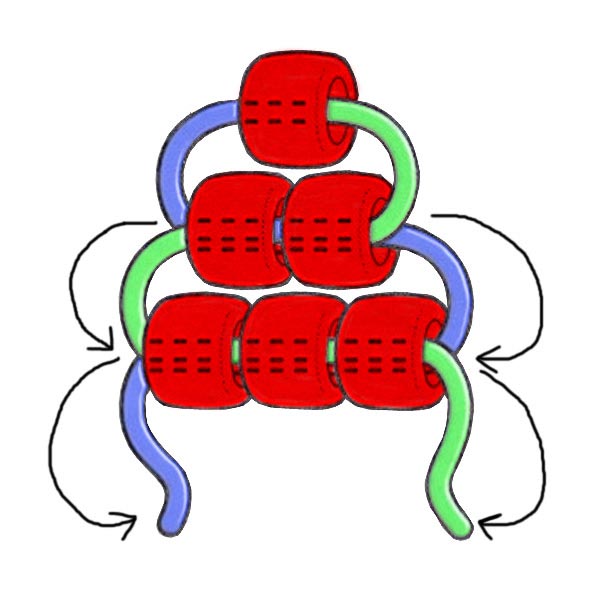
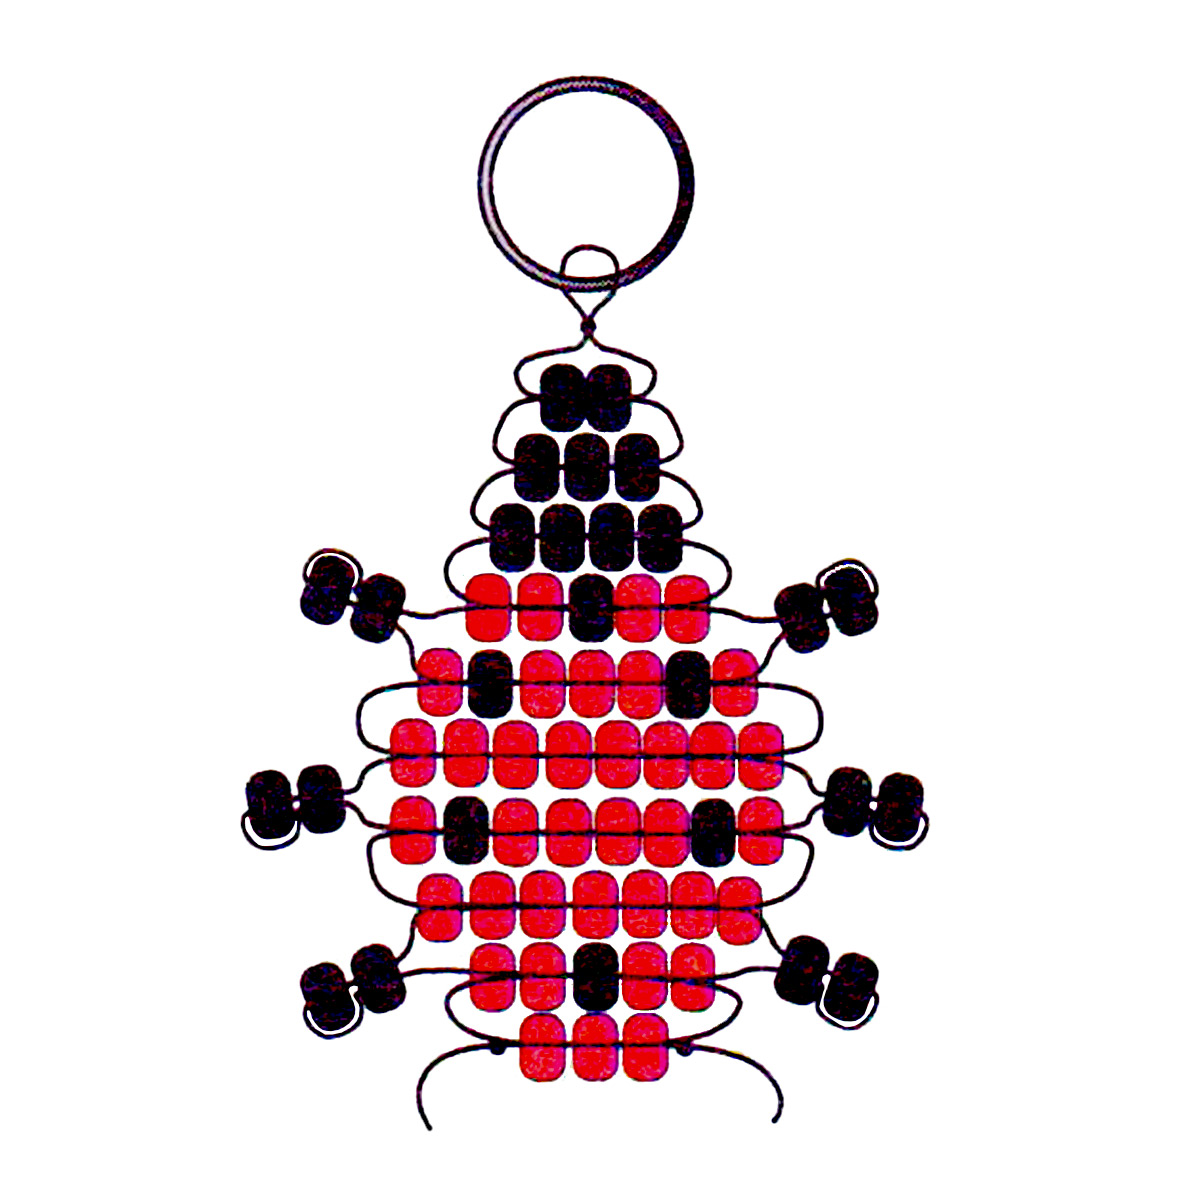
Illustration showing how two cords are woven through pony beads from opposite directions.2. Using the ladybug bead diagram to the right, begin weaving the rows beneath the clear bead. Thread the beads for the first row onto one cord, then pass the other cord back through those same beads from the opposite direction. Pull both cords until the beads sit together beneath the clear bead.

Note: The tension of your cord does make a difference. The rows should sit snugly together without being pulled so tightly that your ladybug begins to curl or twist. If a row doesn't sit straight, loosen it, straighten the beads, and pull the slack out again.

3. Continue working down through the ladybug pattern, following the bead colors and cord paths in the diagram.

4. If your ladybug doesn't hold it's shape well you can weave a piece of pipe cleaner or wire through one of the widest rows to help it hold its shape. You may find that a thicker cord provides enough support without adding anything else. Either way is fine, so use whichever method works best with your choice of cord.

5. I always try to make the tie-off knots as inconspicuous as possible. Sometimes that means doing a little extra weaving, so here are two ways to finish your ladybug. You can decide which one you prefer:

  • Tie off at the sides: Tie off each cord where it exits on either side of the final row.
  • Loop back through: Thread one cord back through the previous row so both cord ends end up on the same side, next to each other. Then tie them together.

Tie the cords together securely using a surgeon's knot or a double knot. Apply a small drop of glue to the knot to prevent the knot from coming untied during use. Trim the excess cord after the glue has dried.

Your pony bead ladybug is ready to enjoy! Hang it on a garden wreath, in a greenhouse window, on a flowerpot, or from a gardener's gift basket. You can even share her with your other gardening friends or her as a beaded ladybug keychain and take a little bit of the garden with you wherever you go.

The illustration below shows the ladybug bead pattern and cord paths. Click the smaller diagram to see the larger version.
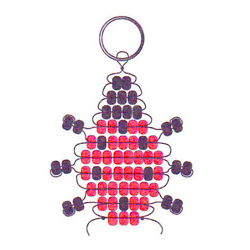
Ladybug pony bead pattern diagram showing bead placement and cord weaving paths for a beaded ladybug.

Make a pair of earrings using this pattern with seed beads or E beads and a small gauge wire instead of the pony beads and cord.



More Ladybug Pony Bead Patterns

Looking for a cute little ladybug to make with pony beads? Here are two different ladybug patterns to try. Choose your favorite or make both!

Please Read: After you have finished with this free pattern won't you please be kind and say thank you by clicking on just one of the sponsors on this page. It doesn't cost you anything and any revenue generated also helps you because it allows us to be able to share this site with you at no charge and to be able to add more patterns and helpful information for you. We sincerely thank you!
Subjects and Terminology Related to this Pattern: pattern patterns instruction instructions free pattern free patterns free instruction free instructions pattern free patterns free instruction free critter pattern wildlife keychains lady bug pattern
 

Copyright © 2008-2026.  All rights reserved.