| Place your ad or website information on every page of our website. Contact us for more details. |
|
|
| Your donations help us to be able to add more free craft patterns to this site for you. We Thank You. |
|
|
|
|
|
Pony Bead Santa Keychain Pattern and Instructions
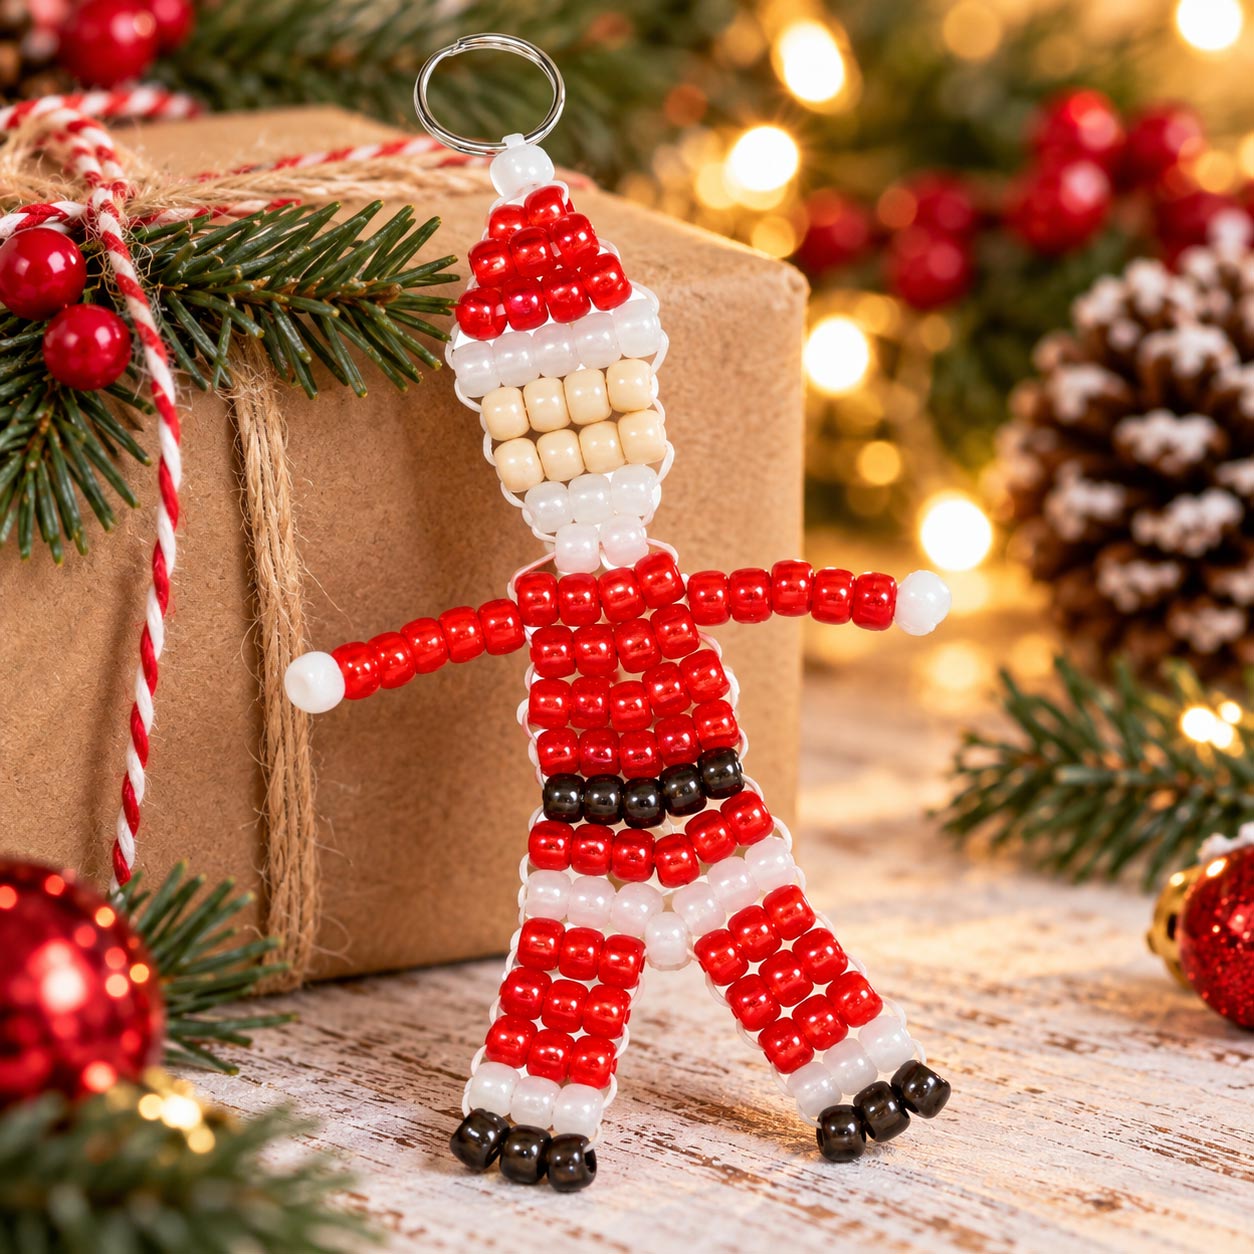
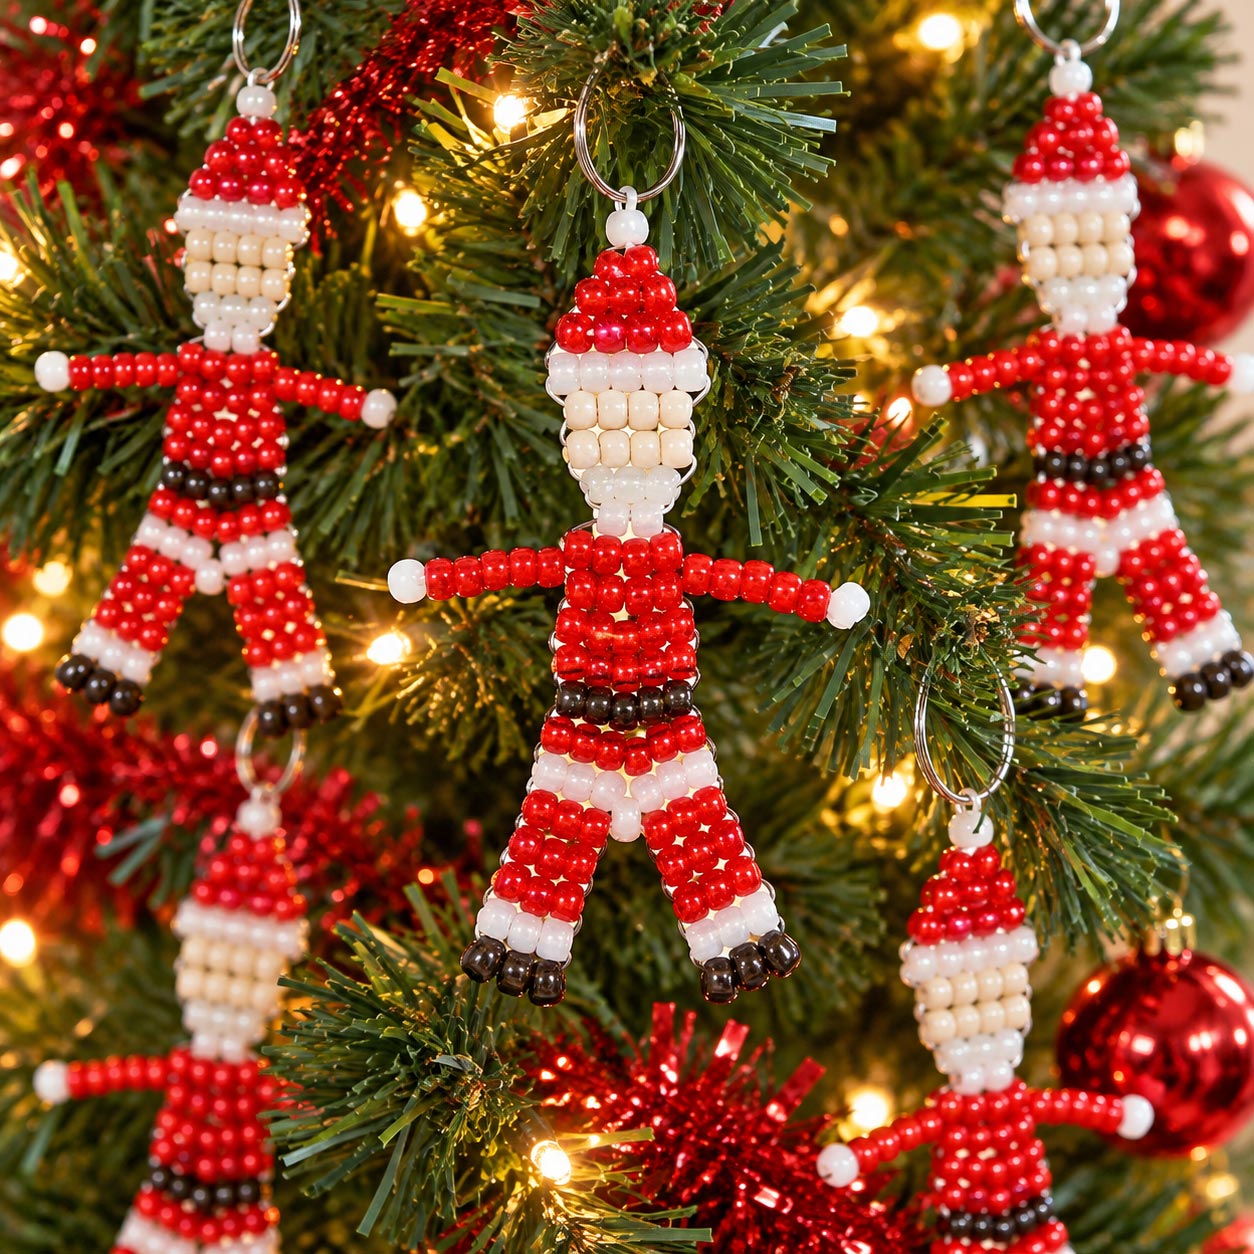
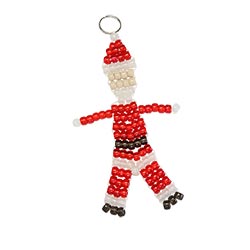
Make a jolly little Santa Claus from pony beads for a Christmas keychain, ornament or holiday decoration. This beaded Santa is made with the familiar row-by-row pony bead weaving technique, creating a Santa figure complete with his red suit, Santa hat, white beard and black boots.
Attach your finished Santa to a key ring for a Christmas keychain, hang him from a backpack or zipper, or give him a place on the Christmas tree as a handmade ornament. Make several and you can use them as package decorations, stocking stuffers, party favors or small handmade gifts. A group of beaded Santas can also become part of a larger Christmas display, garland or holiday window decoration and is perfect for classroom decorating.
Don't feel that attaching a key ring means Santa has to spend the rest of his life holding keys. The ring also gives you an easy way to hang him almost anywhere. Add ribbon, cord, an ornament hook, a clip or another connector to suit where you want him to go.
The pattern is worked one row at a time, so you can follow the bead diagram at your own pace and check each row before moving to the next. If you've made pony bead keychains before, the construction will be familiar. If you haven't, the instructions and weaving illustrations below will help you see how the two ends of the cord travel back and forth through the rows to build Santa from the top of his hat to the bottom of his boots.
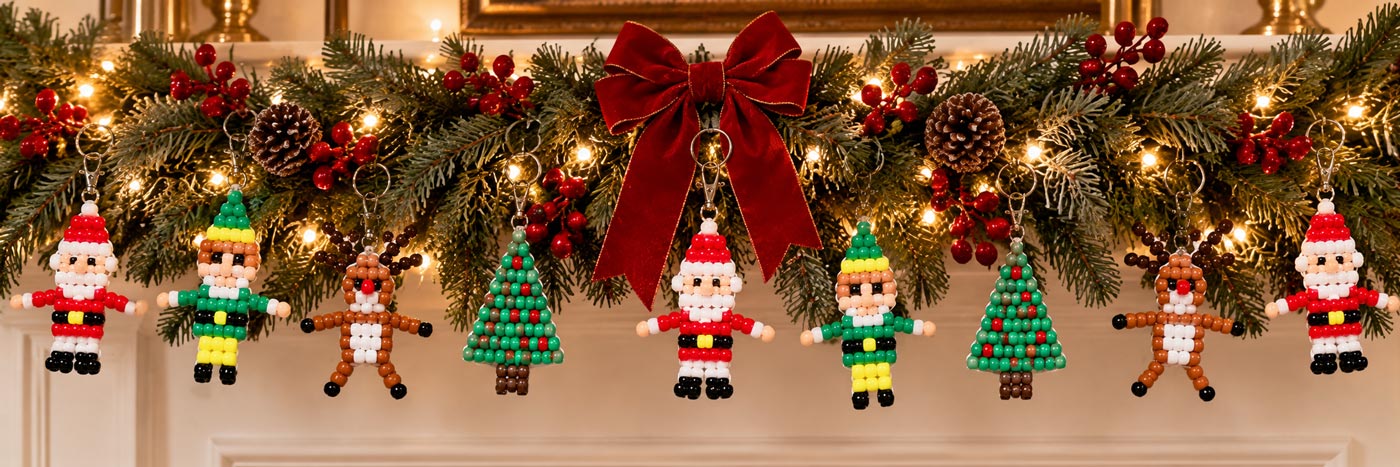
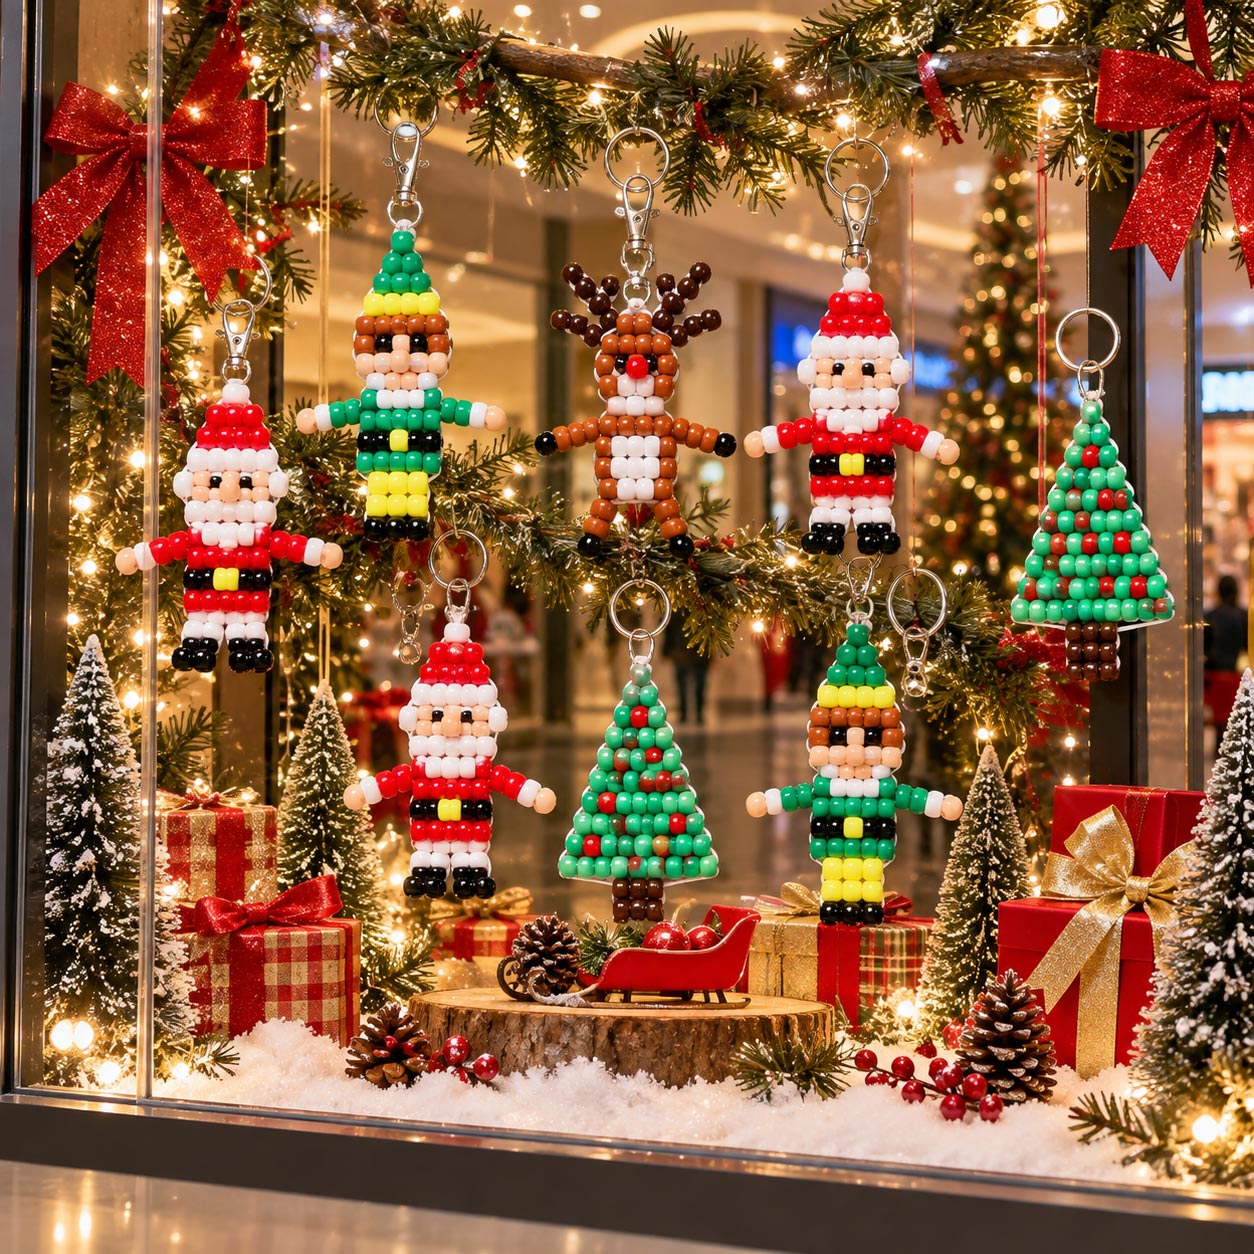
Here is a fun idea for taking these easy to make characters to another level. Combine several Christmas pony bead characters into a handmade garland, holiday swag or ornament strand. Mix Santas with elves, reindeer, grench, Christmas trees and other holiday designs, then hang them from ribbon or cord, place them into greenery, or space them along a strand of Christmas lights. A beaded Christmas garland can drape across a mantel or doorway, decorate a wall or window, or wrap around a Christmas tree. It could even become a group project, with each person making a different character to add to the finished Christmas decoration.
|
|
| Note: For your convenience and to assist you in being able to locate the material required for this project, some or all of the materials listed may be linked to other websites or contain affiliate links. All links in the material list will open into a new window so that you don't lose this pattern page. |
Materials Needed:
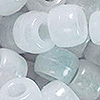 24 - White Pony Beads (Used for Santa's beard, hat trim and suit trim.) We used a glow-in-the-dark white, because it was not an overpowering white color but opaque white or even a crystal would work well. 24 - White Pony Beads (Used for Santa's beard, hat trim and suit trim.) We used a glow-in-the-dark white, because it was not an overpowering white color but opaque white or even a crystal would work well. 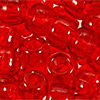 61 - Red Pony Beads (We used translucent red beads for Santa's hat and suit, but opaque, pearl, glitter or another red can be used instead. I am having visions of a new santa with red glitter suit.) 61 - Red Pony Beads (We used translucent red beads for Santa's hat and suit, but opaque, pearl, glitter or another red can be used instead. I am having visions of a new santa with red glitter suit.)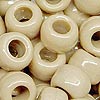 8 - Beige or Tan Pony Beads (Used for Santa's face. You could use brown, ivory or other color just as easily.) 8 - Beige or Tan Pony Beads (Used for Santa's face. You could use brown, ivory or other color just as easily.) 11 - Black Pony Beads (Used for Santa's belt and boots. We used smoke black, a translucent color.) 11 - Black Pony Beads (Used for Santa's belt and boots. We used smoke black, a translucent color.) 1 - Key Ring 1 - Key Ring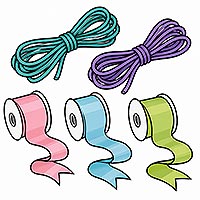 5 feet of smooth 2mm leather cord, pony bead cord, plastic lacing, satin cord, or similar stringing material. 5 feet of smooth 2mm leather cord, pony bead cord, plastic lacing, satin cord, or similar stringing material. Scissors Scissors-
 Ruler or Measuring Tape
-
 Craft Glue
|
|
|
Instructions
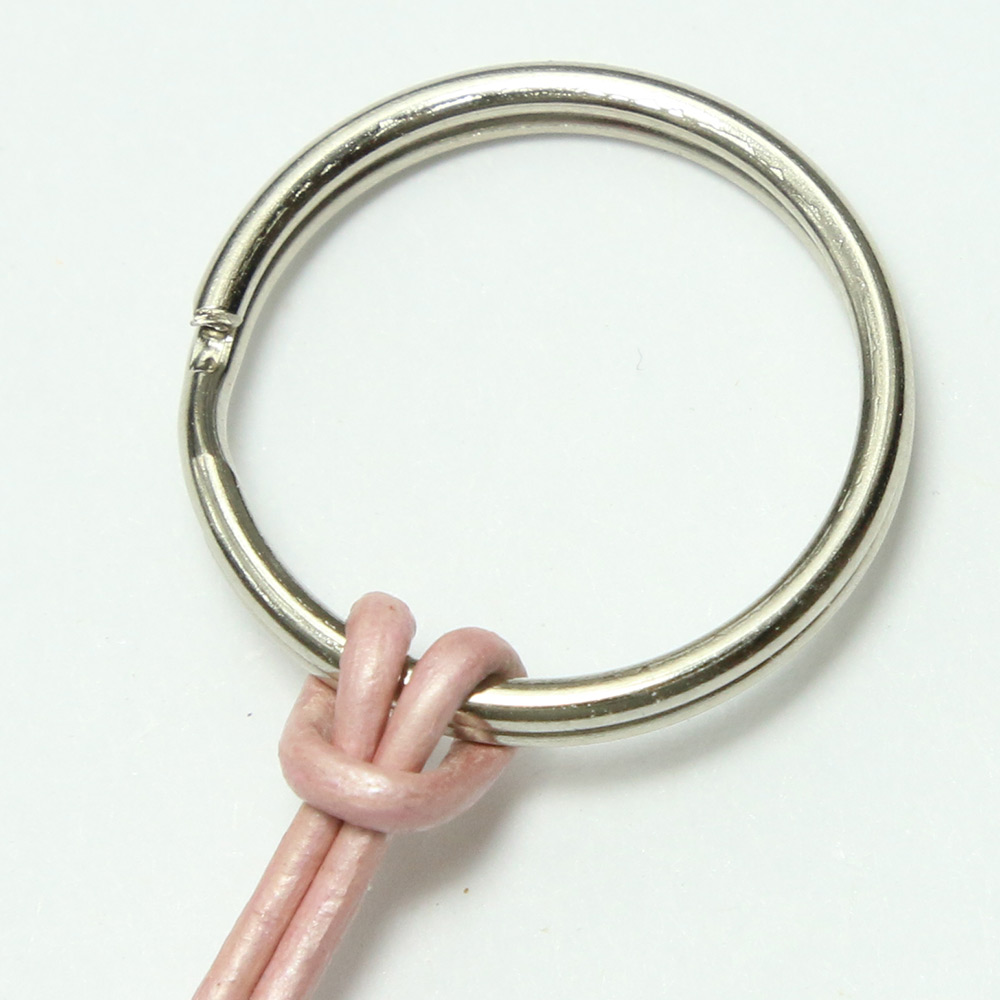
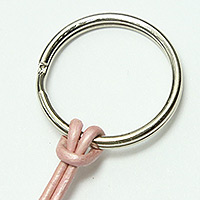 1. Locate the halfway point of your cord or lacing and fold it in half. Attach the folded cord to your key ring using a lark's head knot as shown in the photo. You should now have two cords of about the same length hanging from the key ring. 1. Locate the halfway point of your cord or lacing and fold it in half. Attach the folded cord to your key ring using a lark's head knot as shown in the photo. You should now have two cords of about the same length hanging from the key ring.
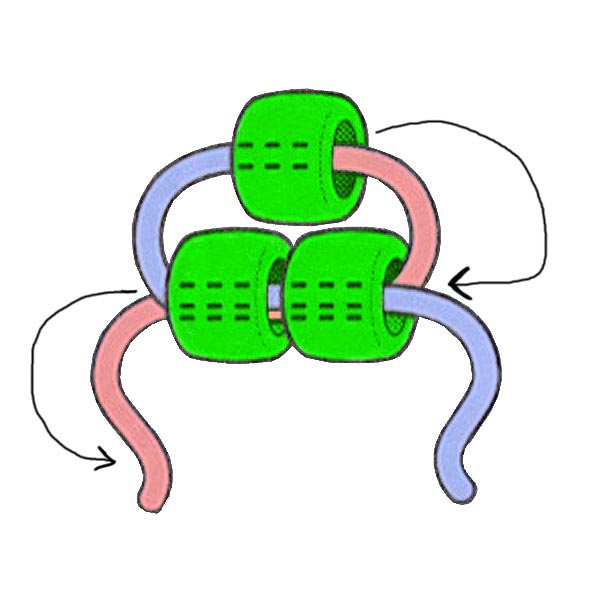 2. Using the bead diagram for the Santa keychain located at the bottom of these instructions as your guide, begin weaving the rows of beads one row at a time. The first bead is done differently in that you thread both of your cords into the first bead, then pass one cord through the row of beads, then pass the other cord through the same beads from the opposite direction as shown in the illustration. Gently pull both cords until the new row rests against the previous one. 2. Using the bead diagram for the Santa keychain located at the bottom of these instructions as your guide, begin weaving the rows of beads one row at a time. The first bead is done differently in that you thread both of your cords into the first bead, then pass one cord through the row of beads, then pass the other cord through the same beads from the opposite direction as shown in the illustration. Gently pull both cords until the new row rests against the previous one.
3. Continue following the Santa pattern from the top of his hat downward. As you finish each row, check the bead colors and count before pulling everything snug. It is much easier to discover that Santa has an extra bead in his hat while you are still working on that row than after you have added several more below it.
4. Keep the tension on the two cords fairly even as you work. The rows should sit snugly together without being pulled so tightly that Santa begins to curl or twist. If a row doesn't want to sit straight, loosen it slightly, straighten the beads with your fingers and then gently tighten the cords again.
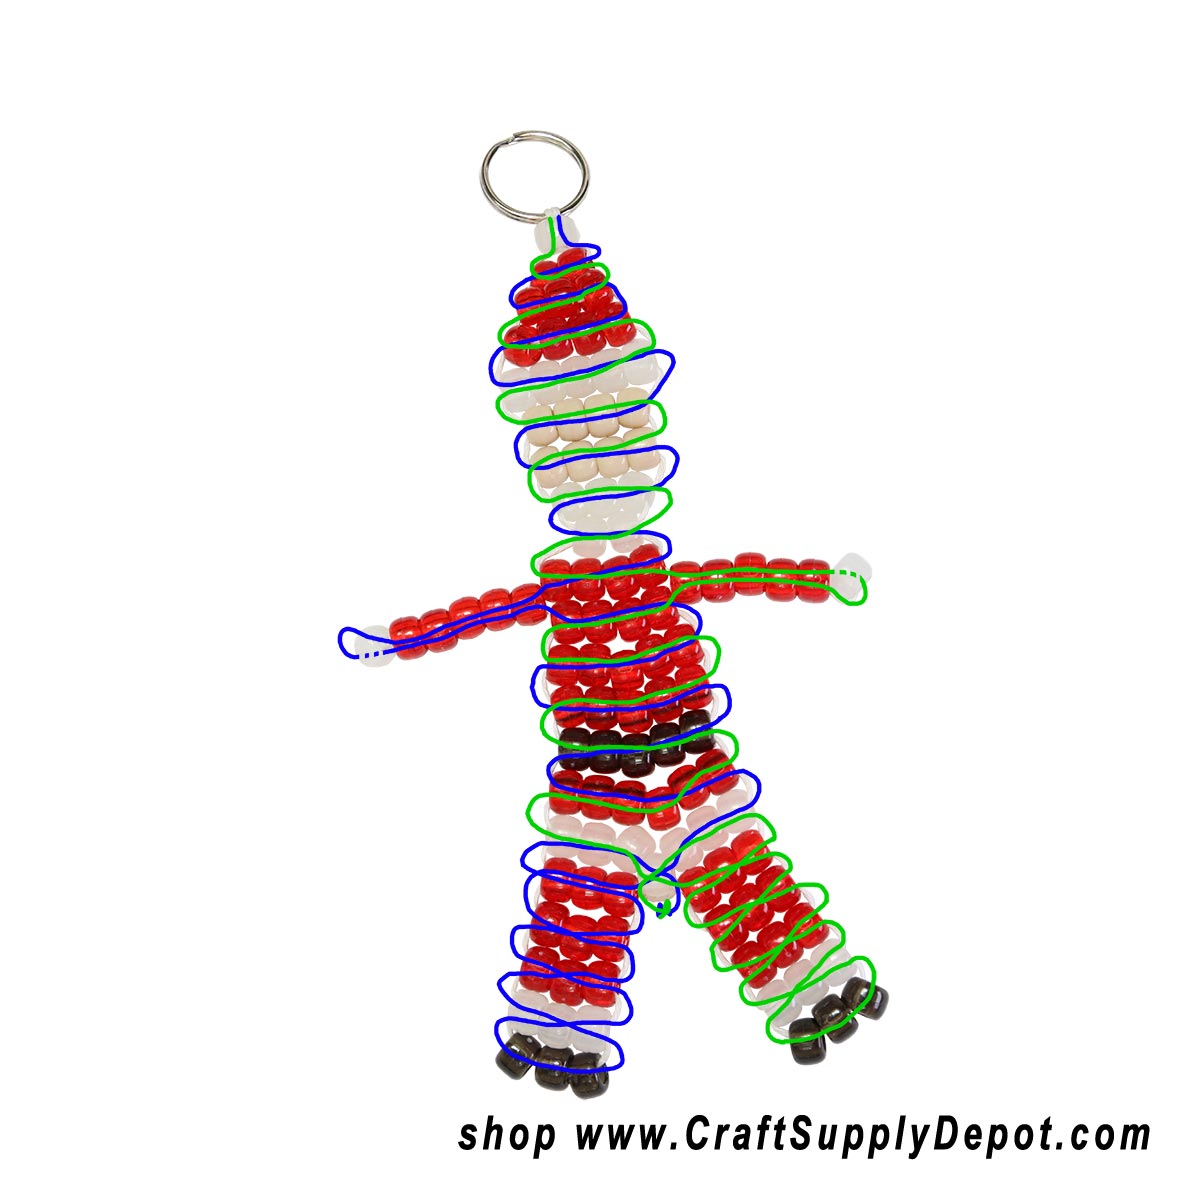
5. Continue through Santa's face, beard and suit, following the bead placement shown in the diagram. When you reach his arms and legs, take a little extra time to follow the cord path in the pattern. These areas branch away from the main body and thread back through themselves again before continuing the body.
6. For the legs, each leg is done with the same piece of cord, threaded through each row, down to the bottom, and then back through each row up to the top of his legs where they will meet in the center and can be tied together less obviously. You can still adjust the tension between rows, straighten his arms and legs, or correct a bead that isn't sitting properly.
7. Tie the cords together securely with a surgeon's knot or a good double knot. Add a small drop of craft glue to the knot for a little extra security. Let the glue dry, then trim away the excess cord.
The diagram below uses blue and green to make the two ends of the cord easier to follow as they travel through the beads. Don't let the number of lines intimidate you. Follow one row at a time and use the colors to keep track of which cord goes where. Click the diagram to open a larger version whenever you need a closer look.
Ready to make another one?
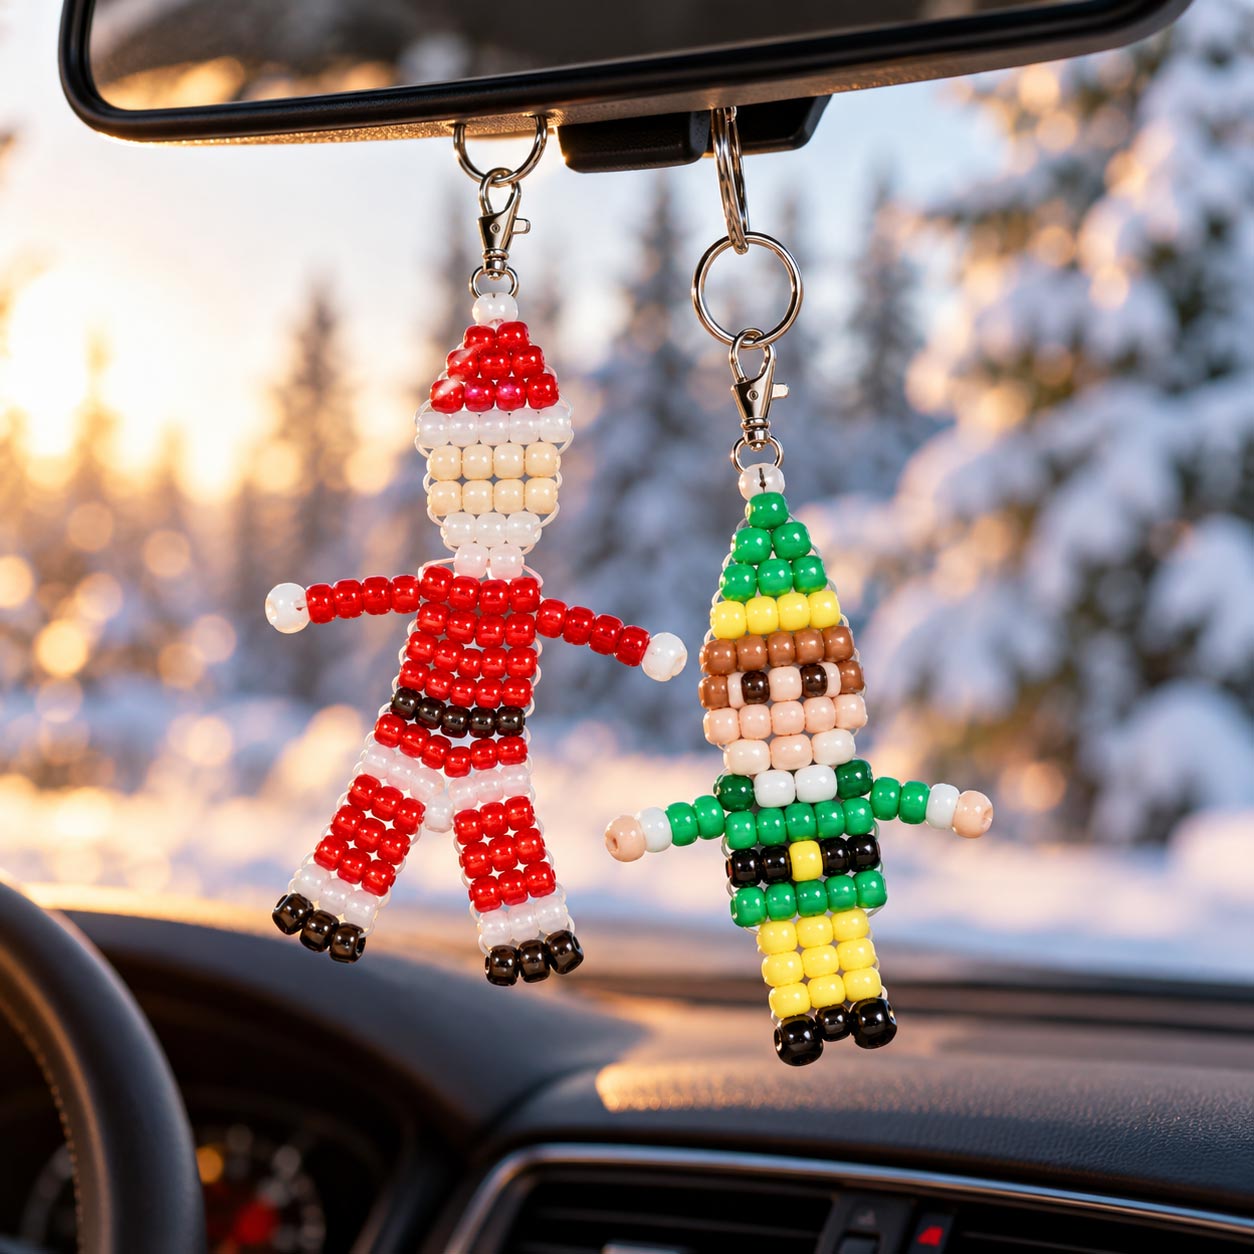
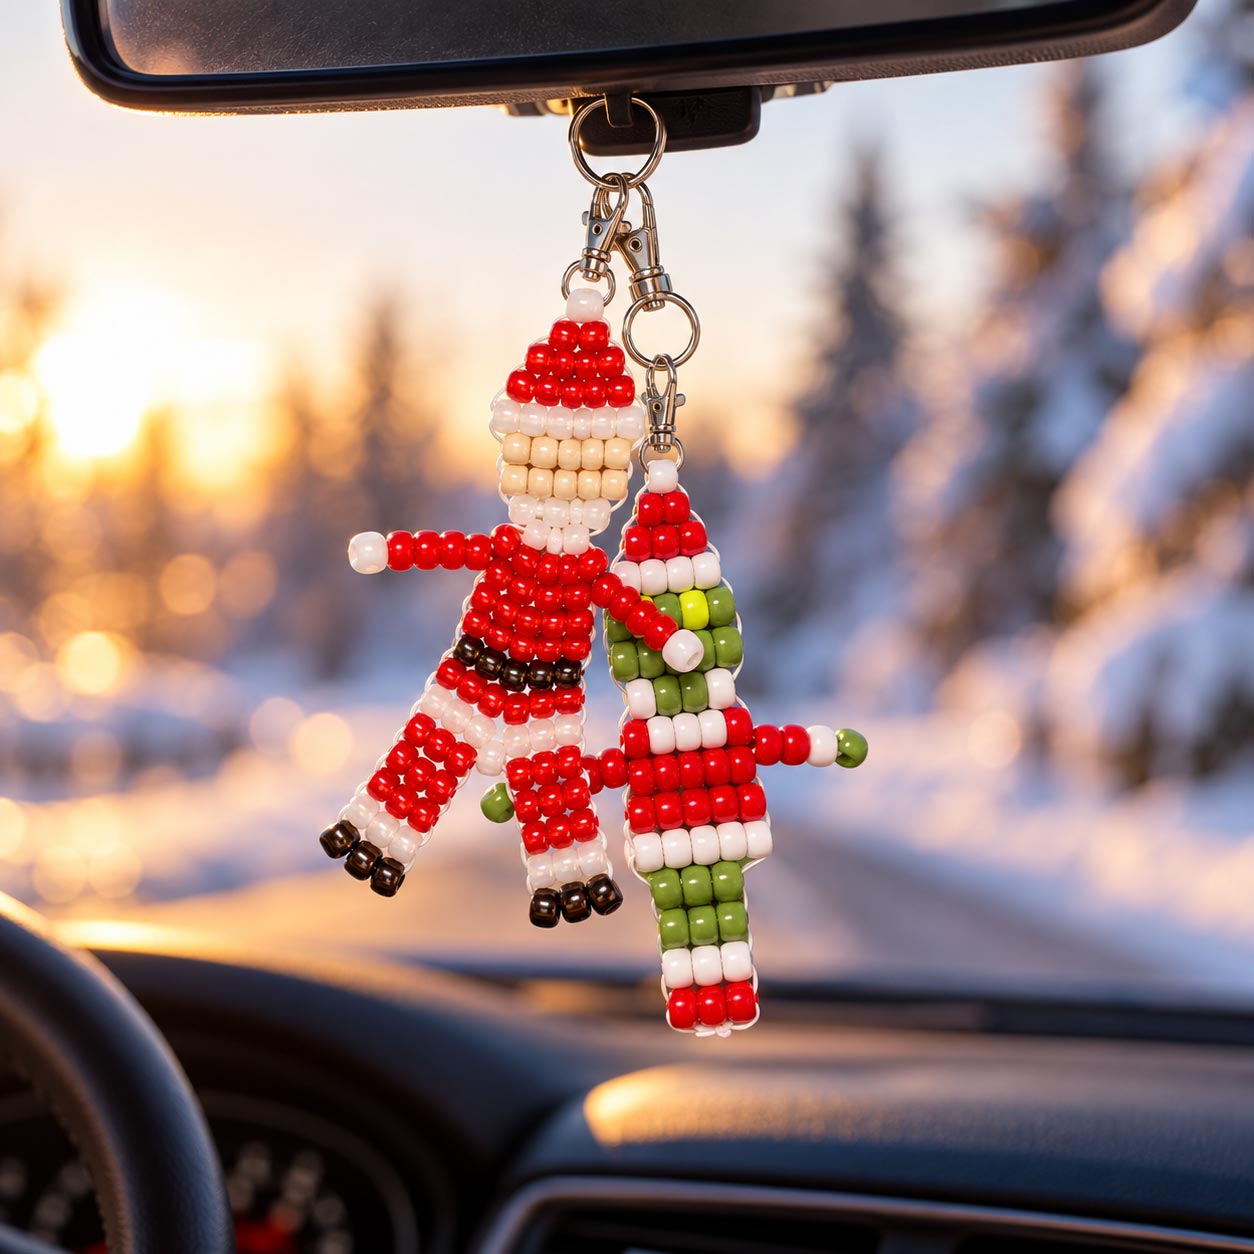
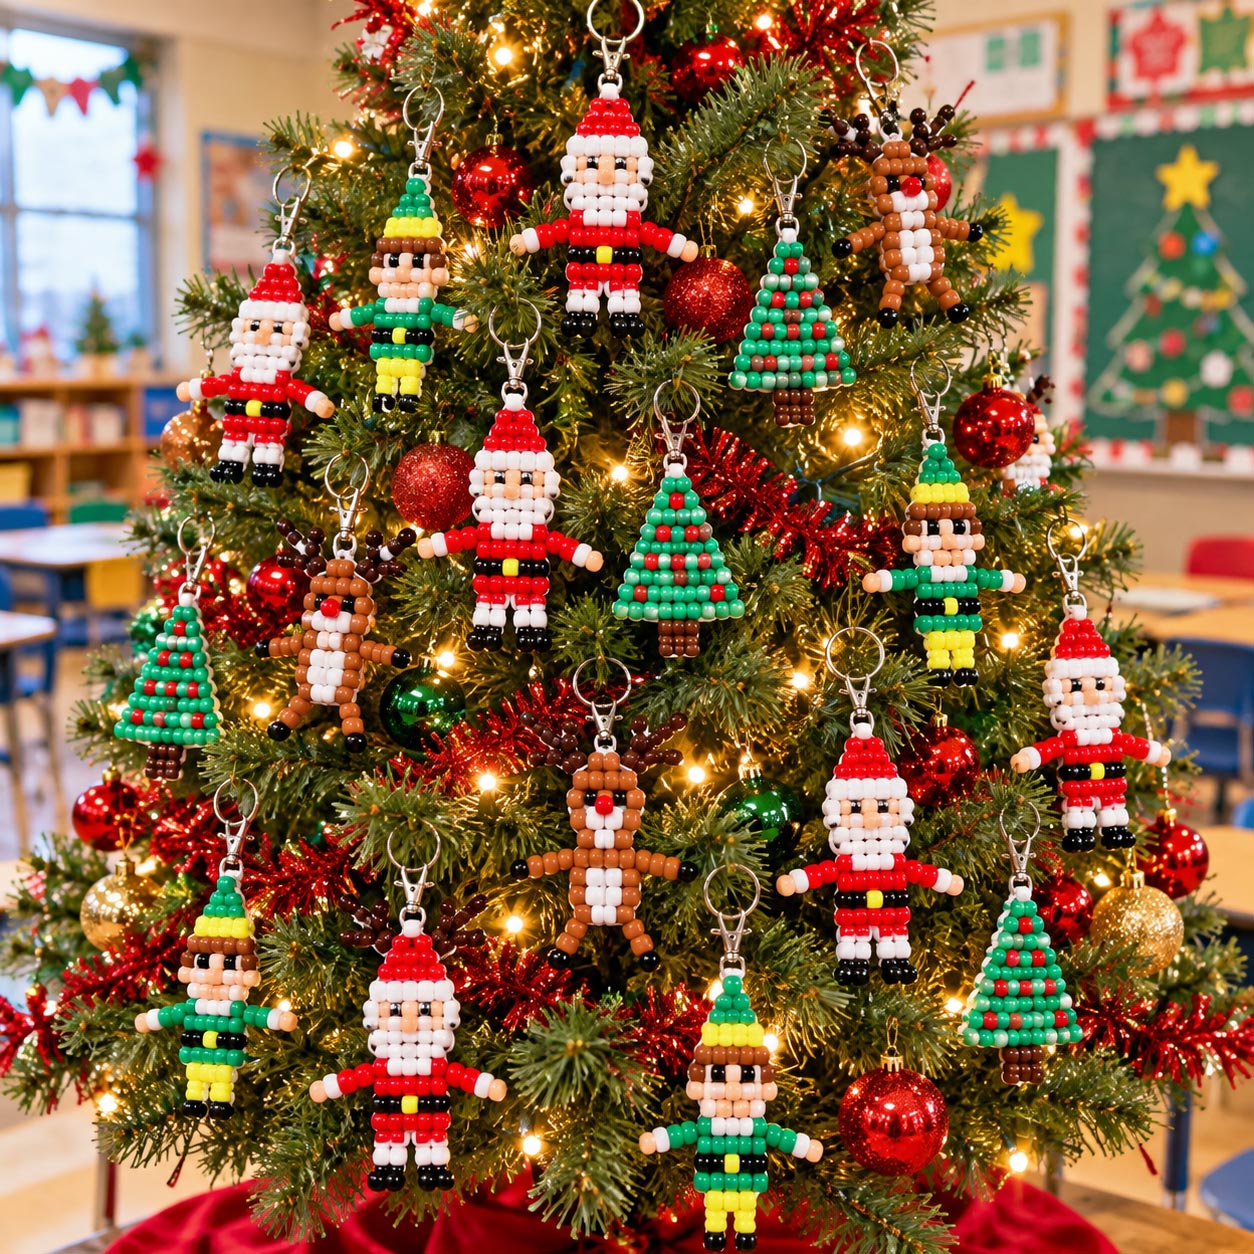
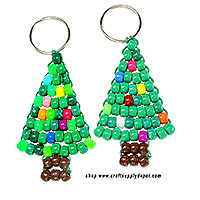
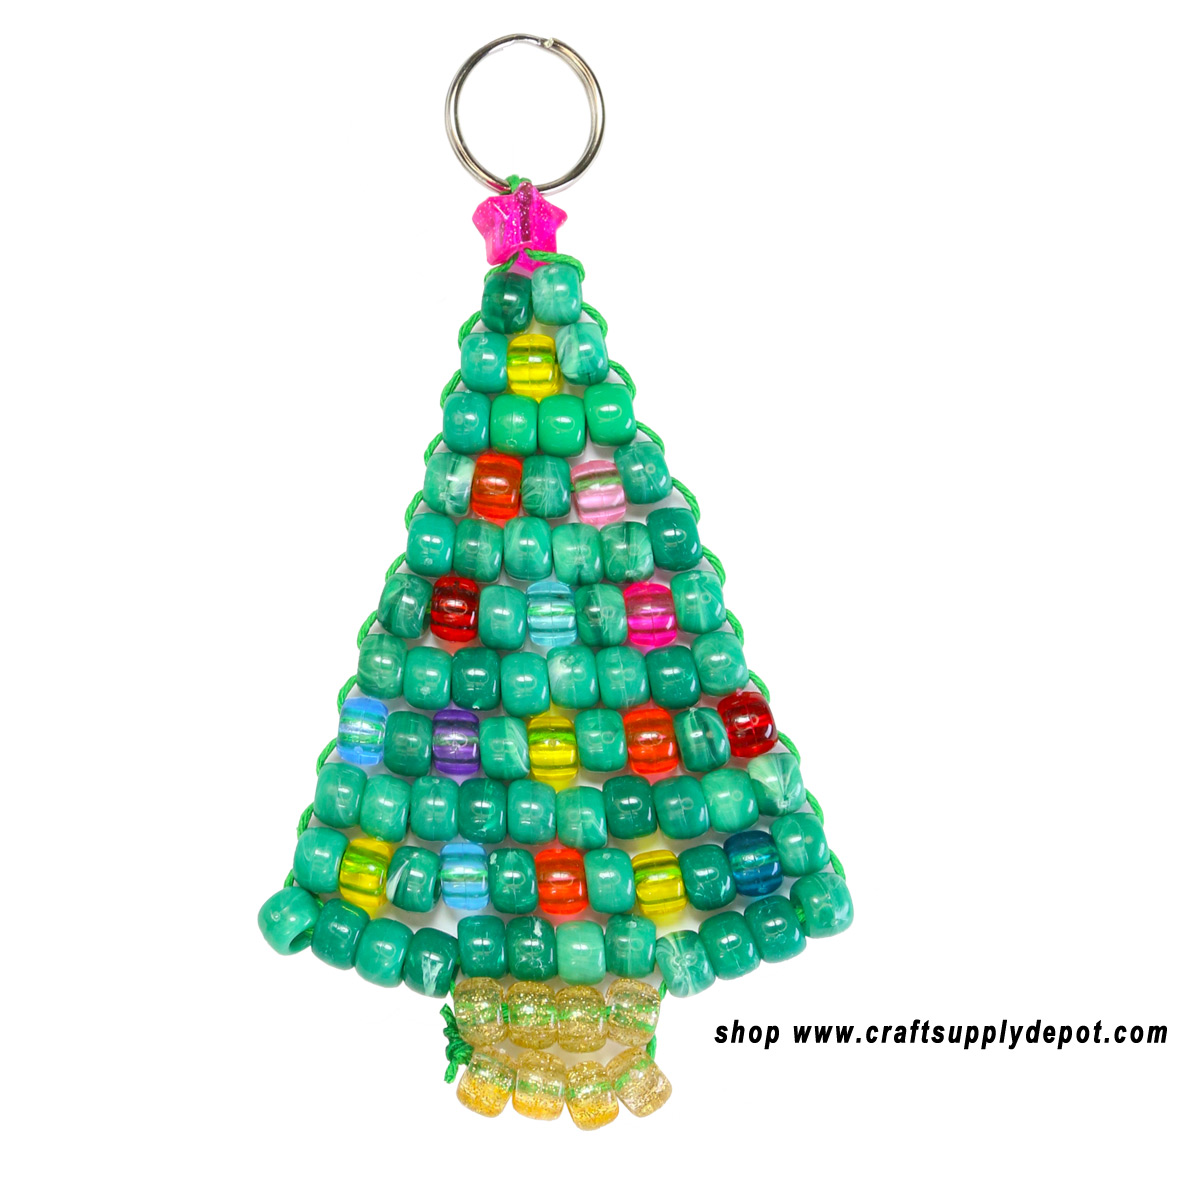
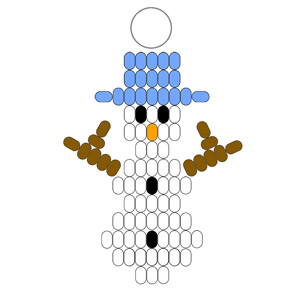
Here are a few ideas for inspiration. Show your Christmas spirit (or not) and carry Santa or even the Grinch with you wherever you go as a keychain, backpack charm or rear view mirror decoration. Pony bead Christmas characters actually make great ornaments and decorations that can add a handmade touch to gift packages, Christmas trees, garlands, wreaths, mantels, windows and holiday displays. An easy to make collection of Santas, elves, reindeer and Christmas trees can decorate a classroom tree, brighten a store or craft show display, or become part of a family Christmas tree filled with handmade ornaments. They're small projects, but there are plenty of places for them to turn up at Christmas.
|
|
|
|
|
More Christmas Pony Bead Patterns
Looking for more Christmas pony bead projects?
Here are more free patterns to make for ornaments, keychains
and handmade Christmas decorations.
|
| Please Read: After you have finished with this free pattern won't you please be kind and say thank you by clicking on just one of the sponsors on this page. It doesn't cost you anything and any revenue generated also helps you because it allows us to be able to share this site with you at no charge and to be able to add more patterns and helpful information for you. We sincerely thank you! |
| Subjects and Terminology Related to this Pattern: pony bead Santa, Santa Claus, beaded Santa, Santa keychain, Santa keychain pattern, pony bead Santa pattern, beaded Santa pattern, Christmas pony beads, Christmas bead craft, Christmas keychain, Santa ornament, beaded Christmas ornament, Christmas craft, holiday bead craft |
|
|