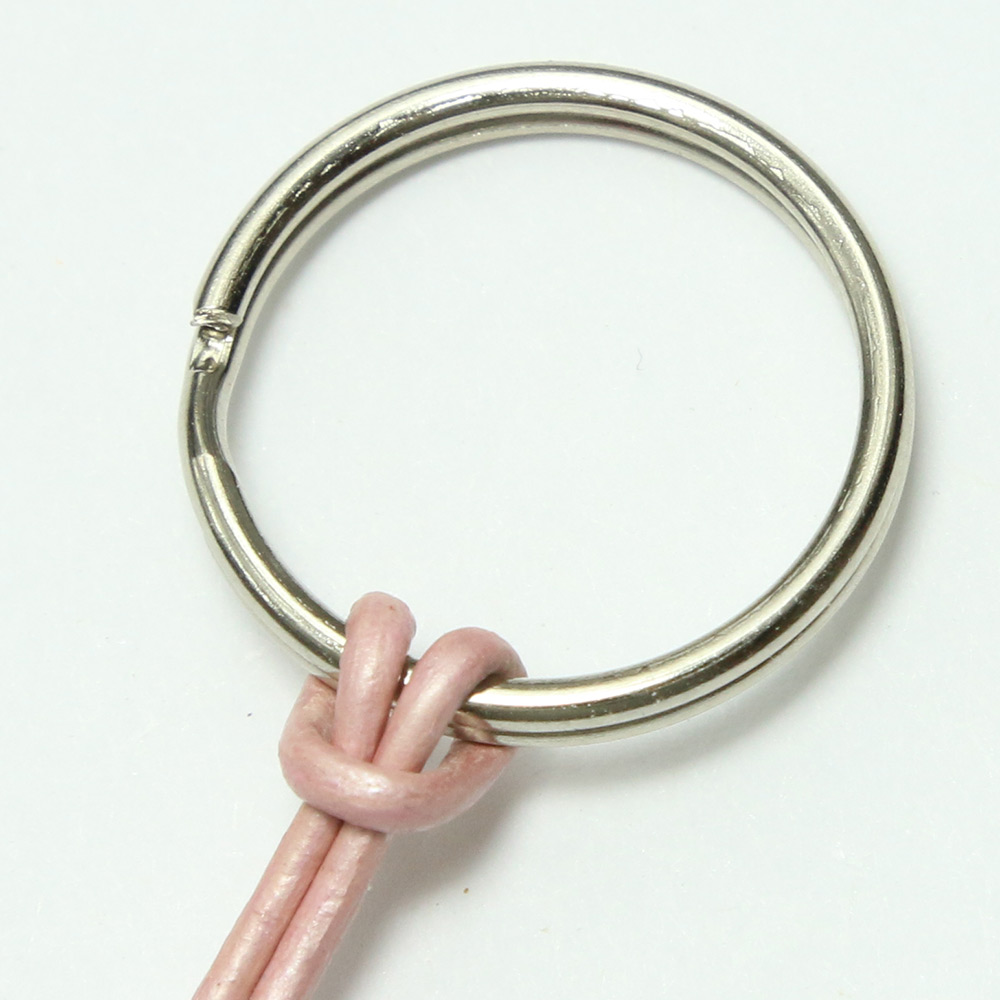
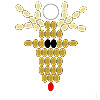
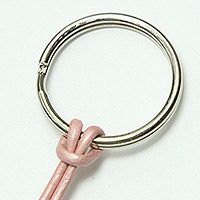
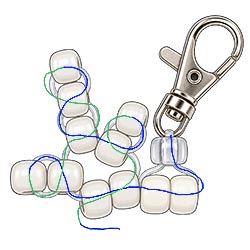
 1. Locate the halfway point of your 2 yards of cord and fold it in half. Attach the folded cord to your key ring or lanyard hook using a lark's head knot as shown in the photo. You should now have two cords hanging from the key ring.
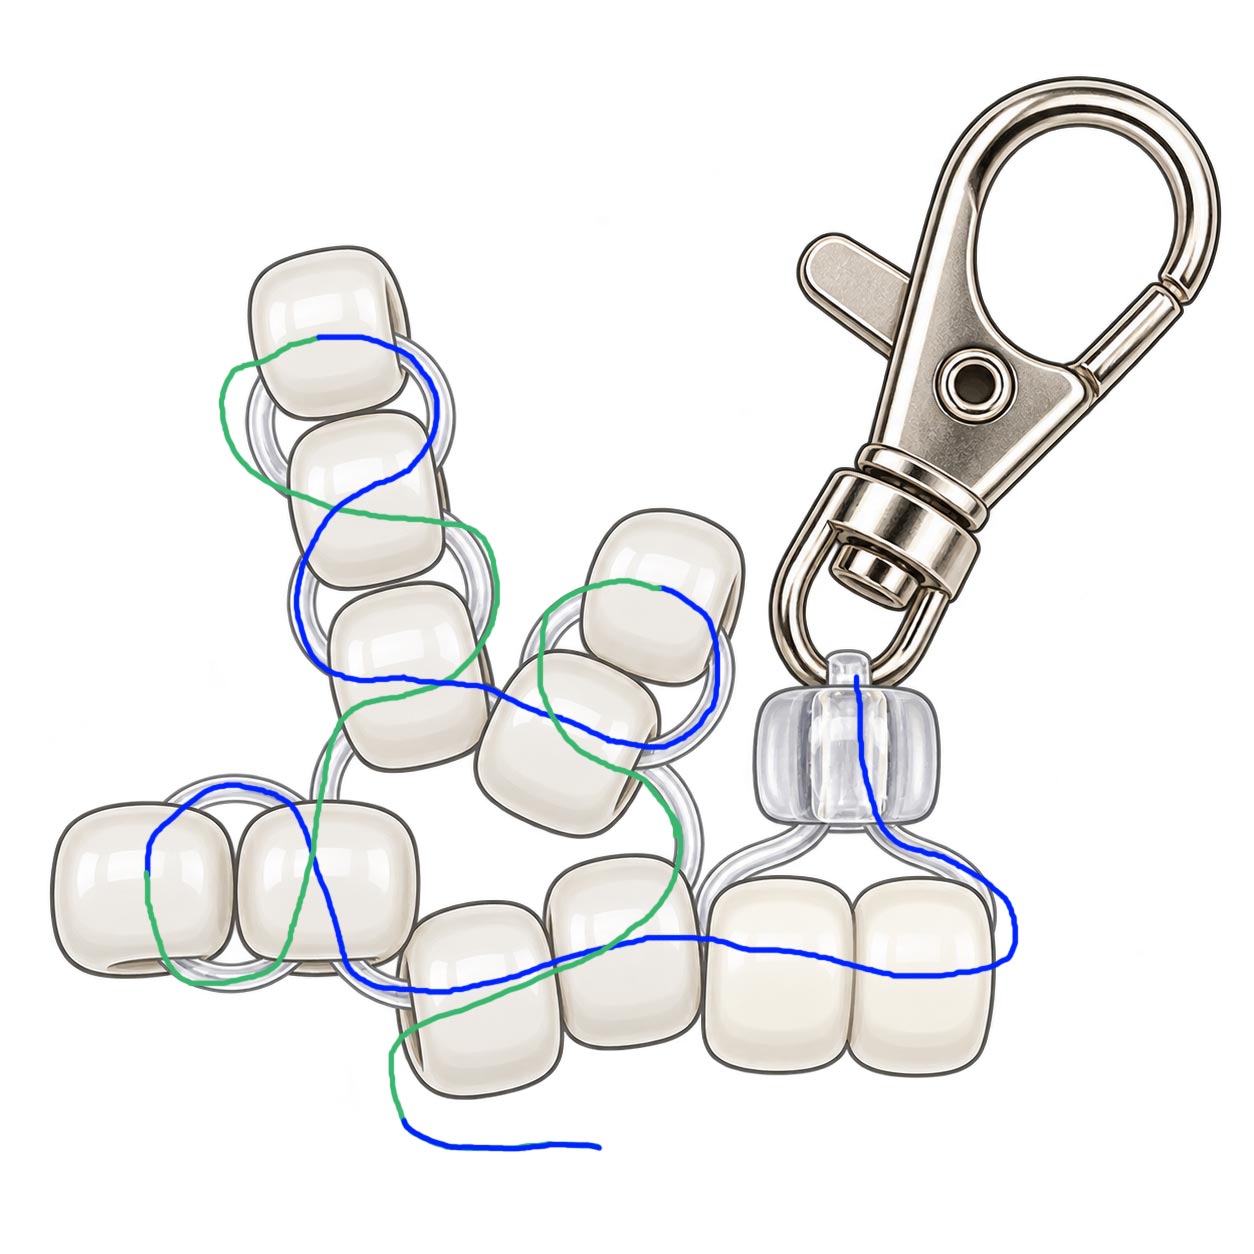
2. Begin with the clear pony bead at the top of your reindeer. Unlike the other rows, this bead is threaded vertically. Pass both cords downward through the hole of the clear bead so that it sits directly below your key ring or lanyard hook. This bead forms the connection between the hook and the top of your reindeer.
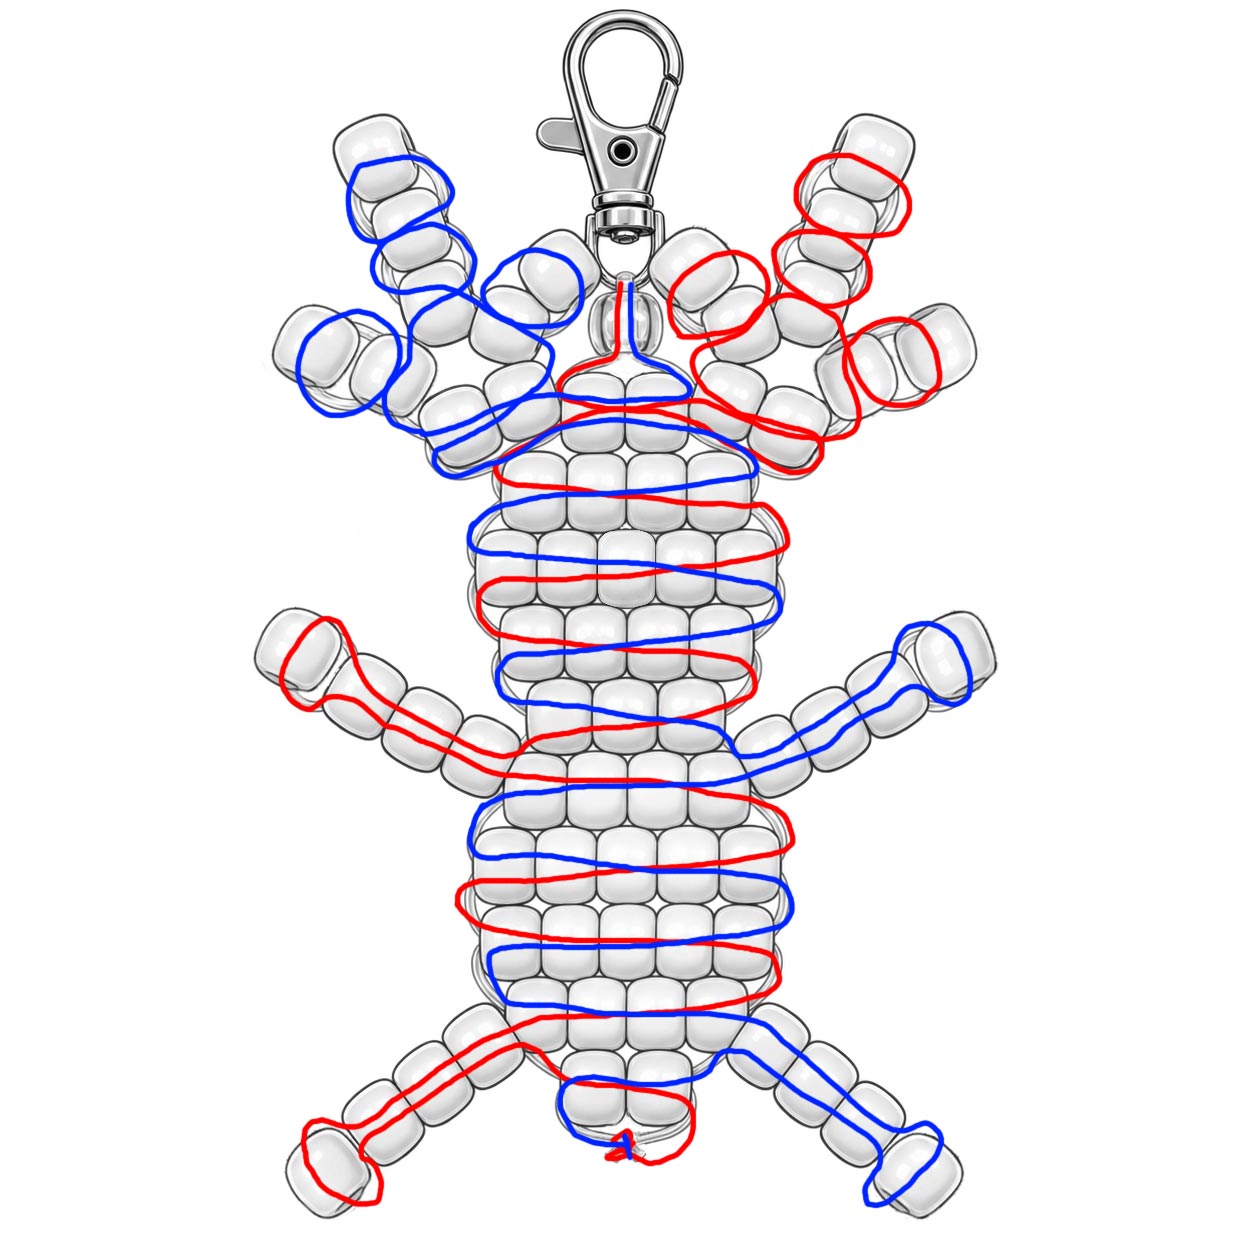
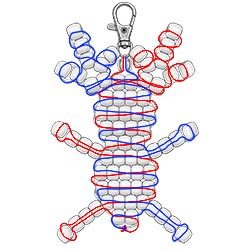
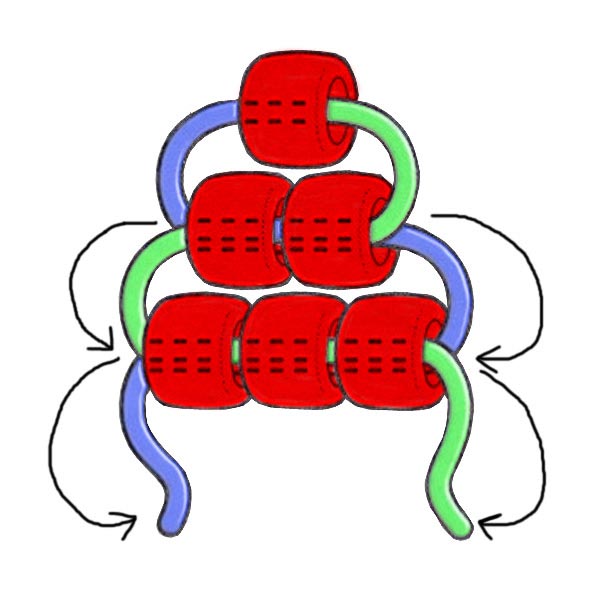 3. Using the reindeer bead diagram at the bottom of these instructions, begin weaving the remaining rows. For each row, thread the beads onto one cord, then pass the other cord back through the same beads from the opposite direction.
Note: The tension of your cord does make a difference. The rows should sit snugly together without being pulled so tightly that your reindeer begins to curl or twist. If a row doesn't sit straight, loosen it, straighten the beads with your fingers and pull the slack out again.
 The antlers can get pretty confusing so they have their own diagram to help you follow their shape and bead placement. Use this illustration along with the main reindeer pattern.
4. Continue following the reindeer diagram, working through the antlers first and then the rest of Rudolph, as illustrated.
5. When you reach the bottom of the reindeer and finish the final row, tie the two cord ends together securely using a surgeon's knot or double knot. Apply a small drop of glue to the knot to help keep it from coming undone. Trim the excess cord after the glue has dried.
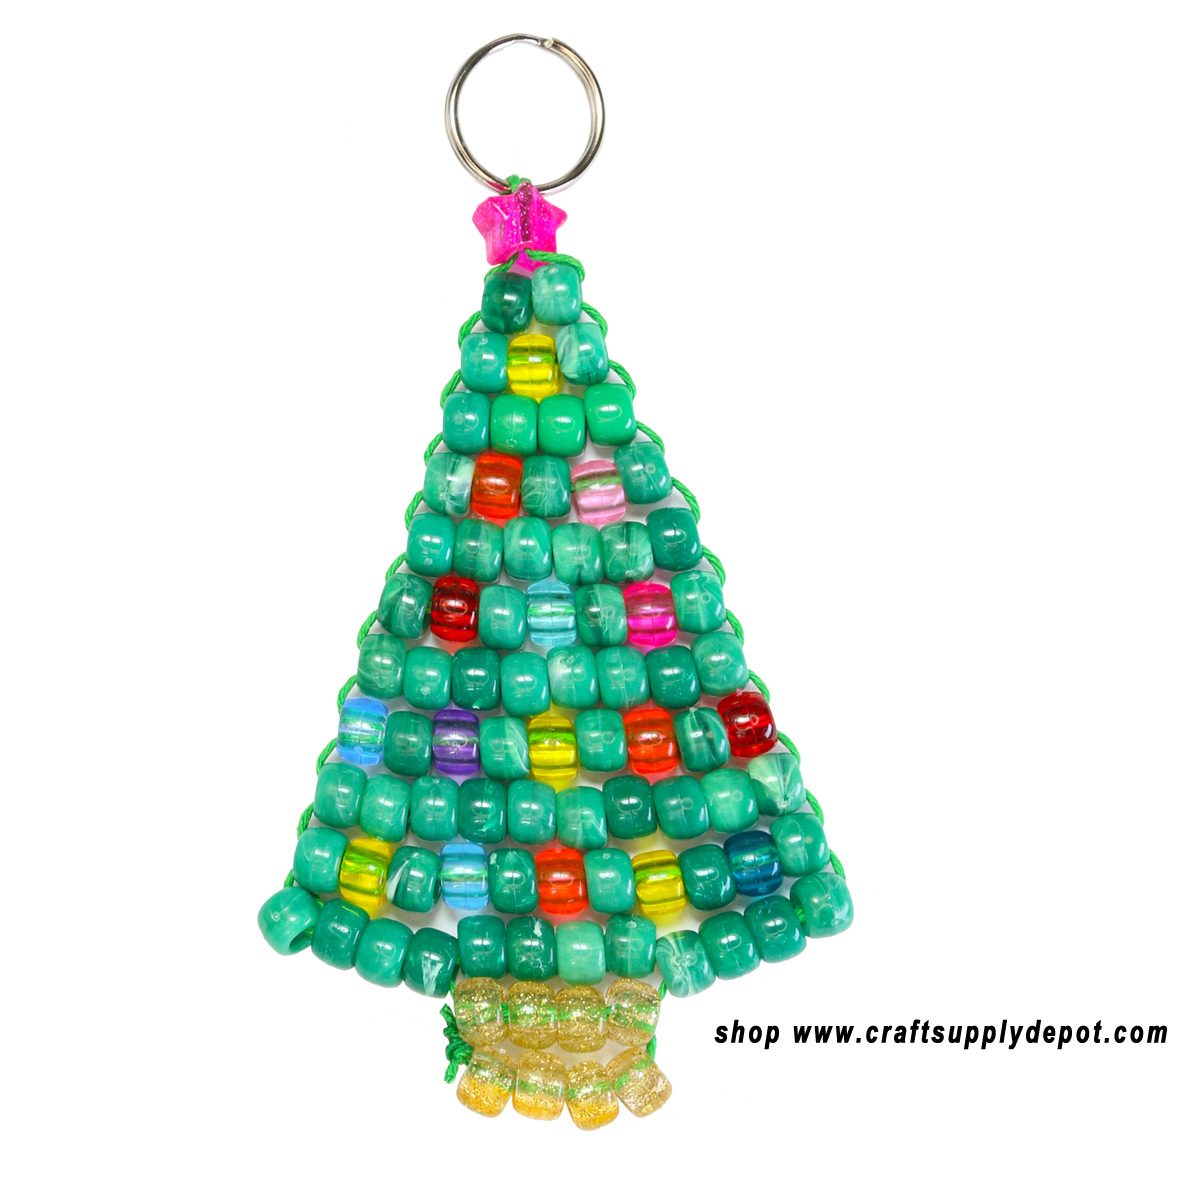
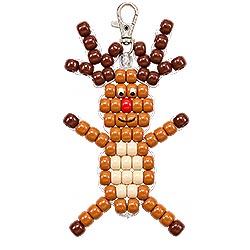
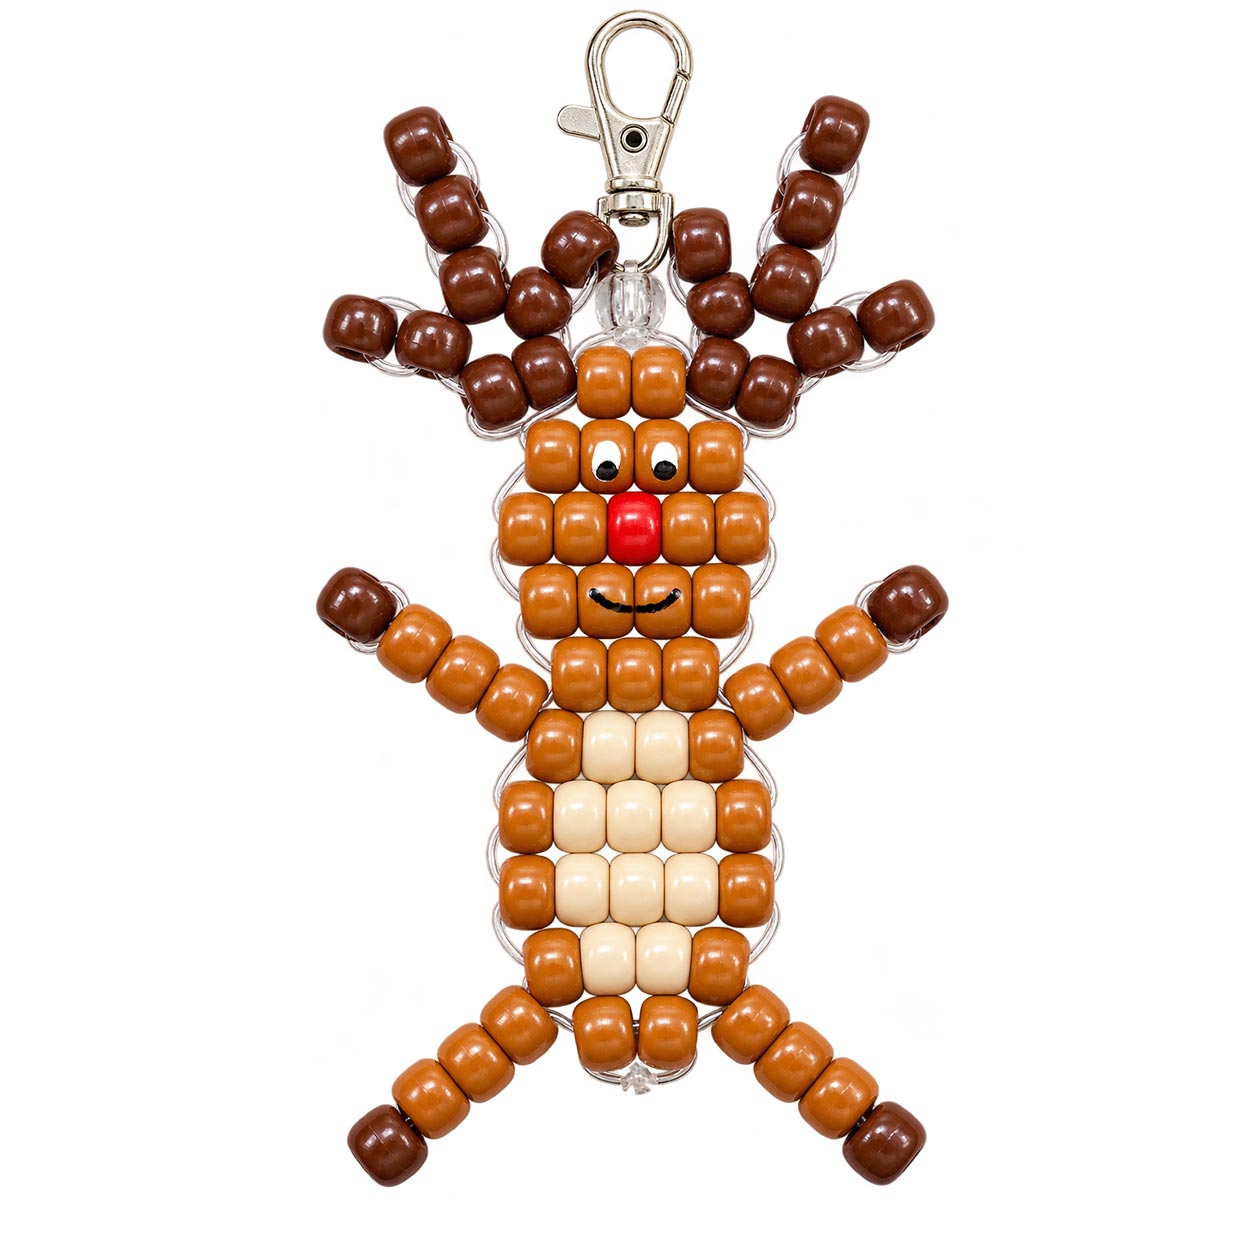
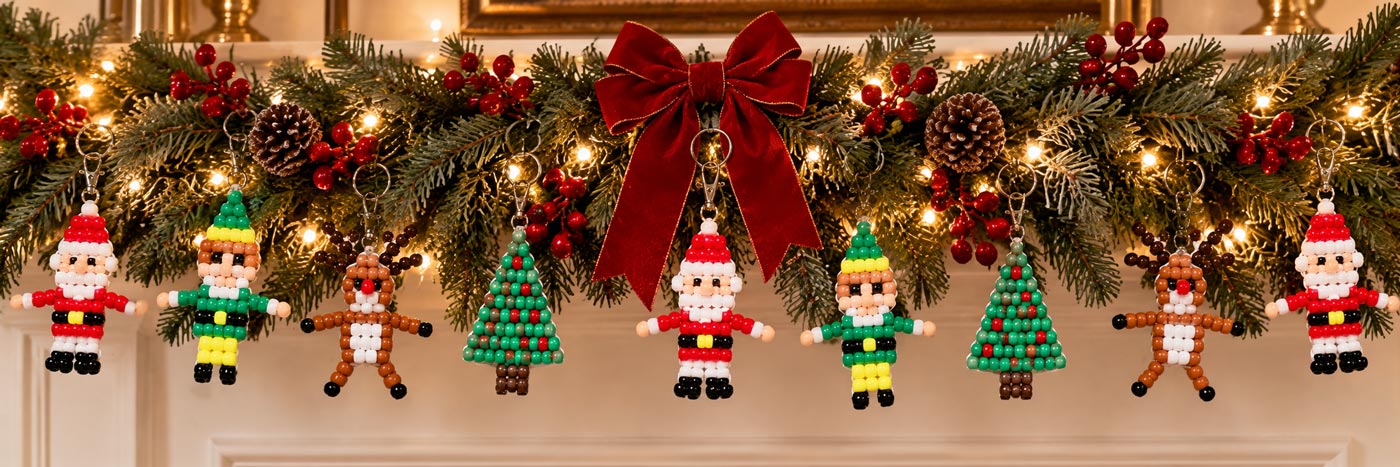
Your beaded Rudolph reindeer is ready to bring a little Christmas cheer to a backpack, set of keys, Christmas tree, or holiday gift!
The illustration below uses red and blue to show how each side of your cord is woven through the beads. Click the image to see the larger diagram.



 1 - Lanyard Hook
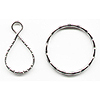 1 - Key Ring
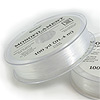 Monofilament Cord
 2mm Metallic Cord
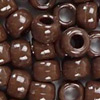 22 - Dark Brown Pony Beads
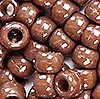 39 - Medium Brown Pony Beads
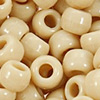 10 - Beige Pony Beads
 1 - Red Pony Bead
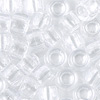 1 - Clear Pony Bead
 Glue
 Scissors
 Ruler or Measuring Tape